AGVC Python SDK Running Examples
1 Introduction
This document provides developers with instructions on how to use the AGVC Python SDK, including environment requirements, download and installation, and use cases. It is applicable to all developers who use this SDK for AGV development and integration.
2. Environment requirements
Python SDK
- Supported operating systems: Linux 64-bit, Windows 64-bit
- Supported hardware platform: x86 platform
- Python version requirements:
- Linux x86: Python 3.6 ~ Python 3.12
- Windows x86: Python 3.6 ~ Python 3.12
3. Installation and uninstallation
3.1 Download and installation methods
Method 1: Download and installation from the official PyPI website
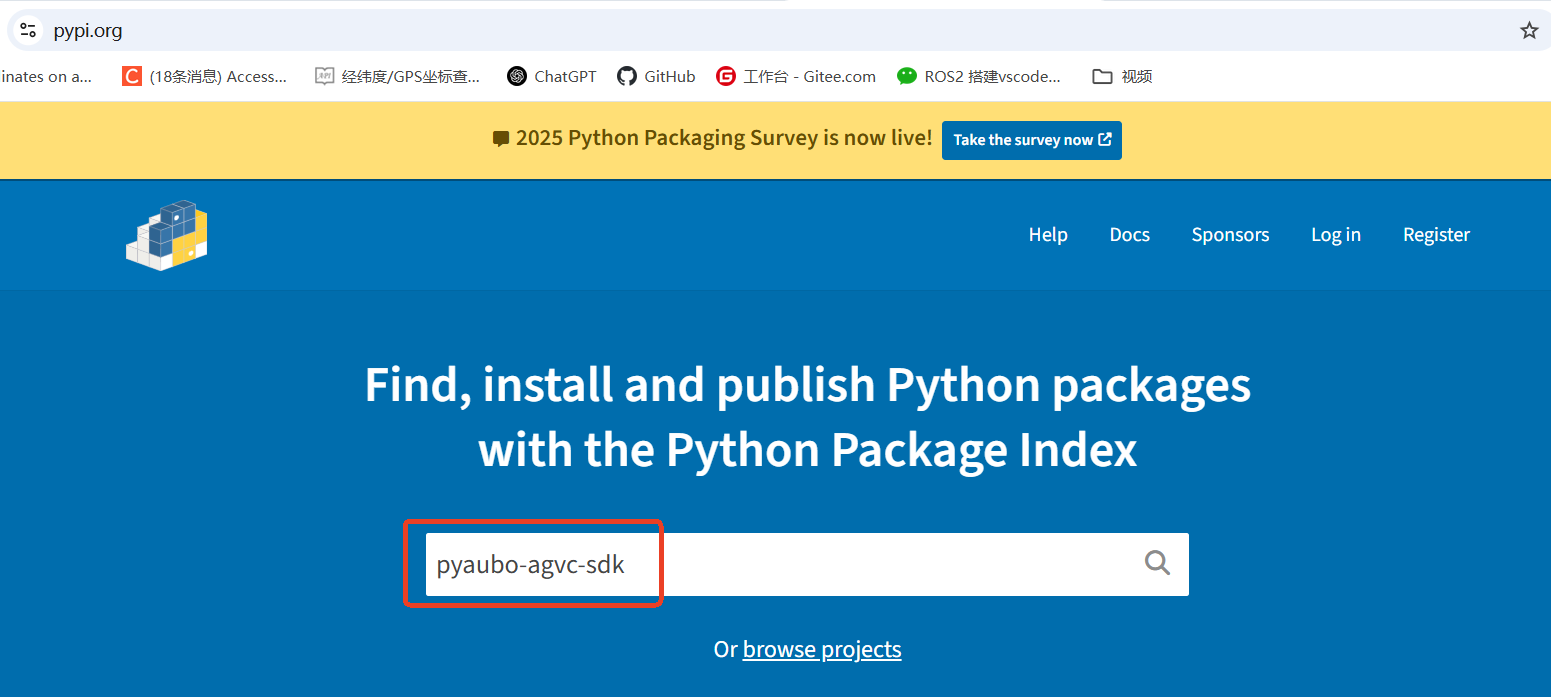
- Open the PyPI website: https://pypi.org/.
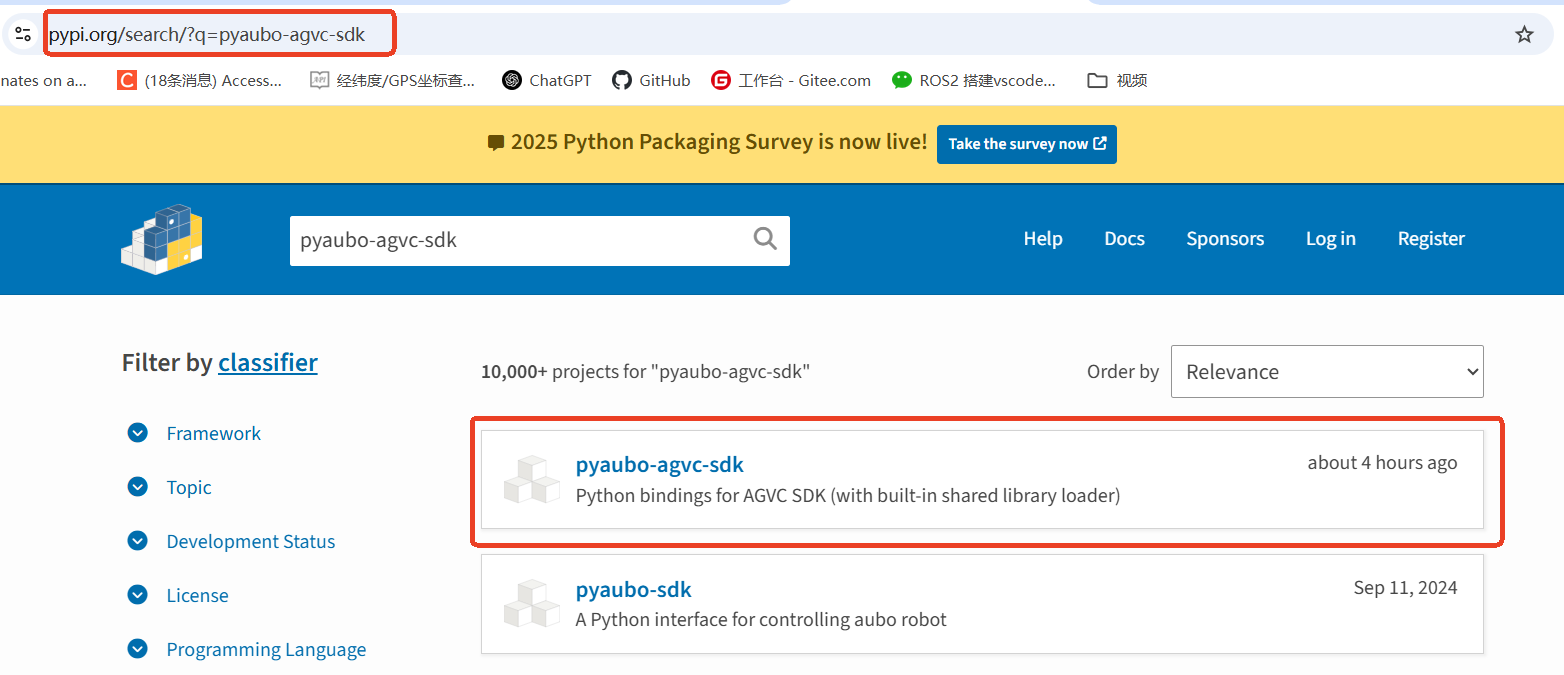
- Search for "pyaubo-agvc-sdk".
- Download pyaubo-agvc-sdk:
- Go to the package details page, click [Download files], and select the
.whlfile for the corresponding version in the [Built Distributions] section to download it.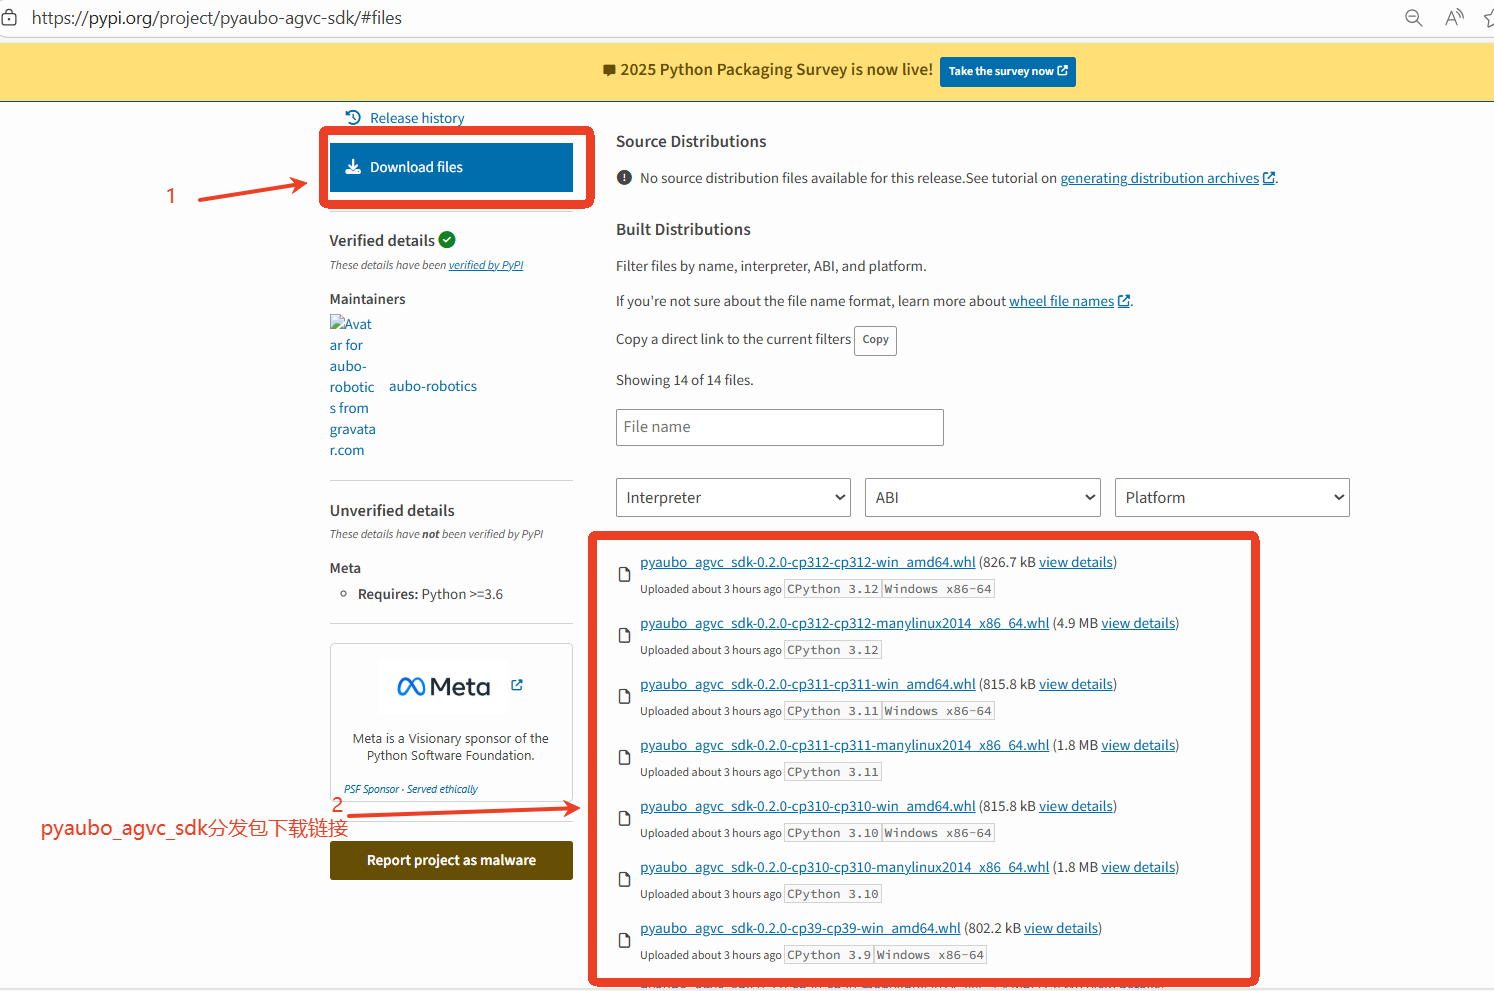
- Switch to the directory where the
.whlfile is located and install it usingpip(taking Linux x86 Python 3.10 as an example):bashpip install pyaubo_agvc_sdk-0.1.0-cp310-cp310-manylinux2014_x86_64.whl - Example of successful installation:

Method 2: Direct installation using the command pip
- Install the latest version:bash
pip install pyaubo-agvc-sdk - Install a specific version (taking
0.2.0as an example):bashpip install pyaubo-agvc-sdk==0.2.0
Method 3: Installation via PyCharm
- Open
File -> Settings.
- Click the icon
+on thePython Interpreterpage.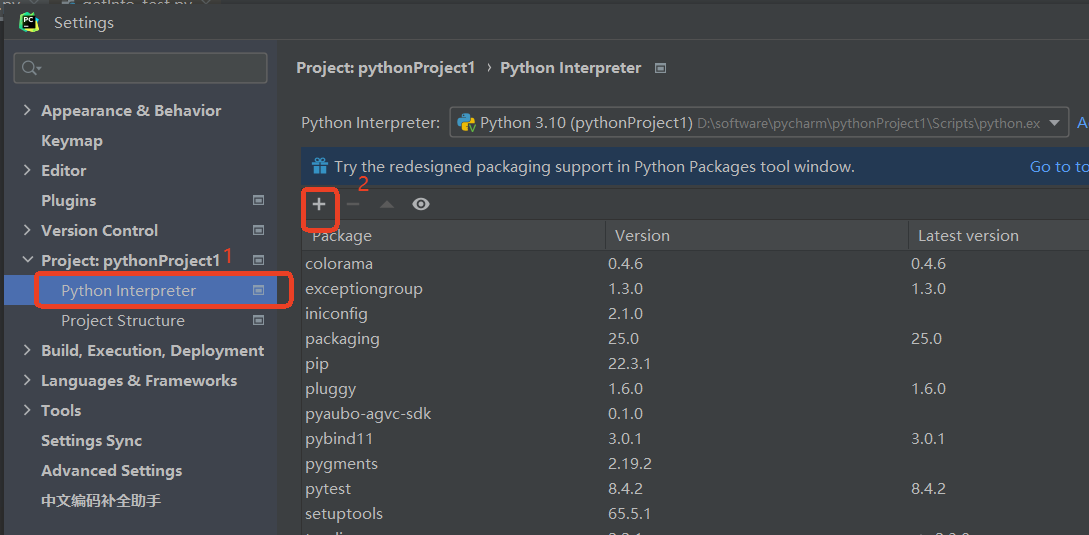
- Search for "pyaubo-agvc-sdk", select a version, and click
Install Package.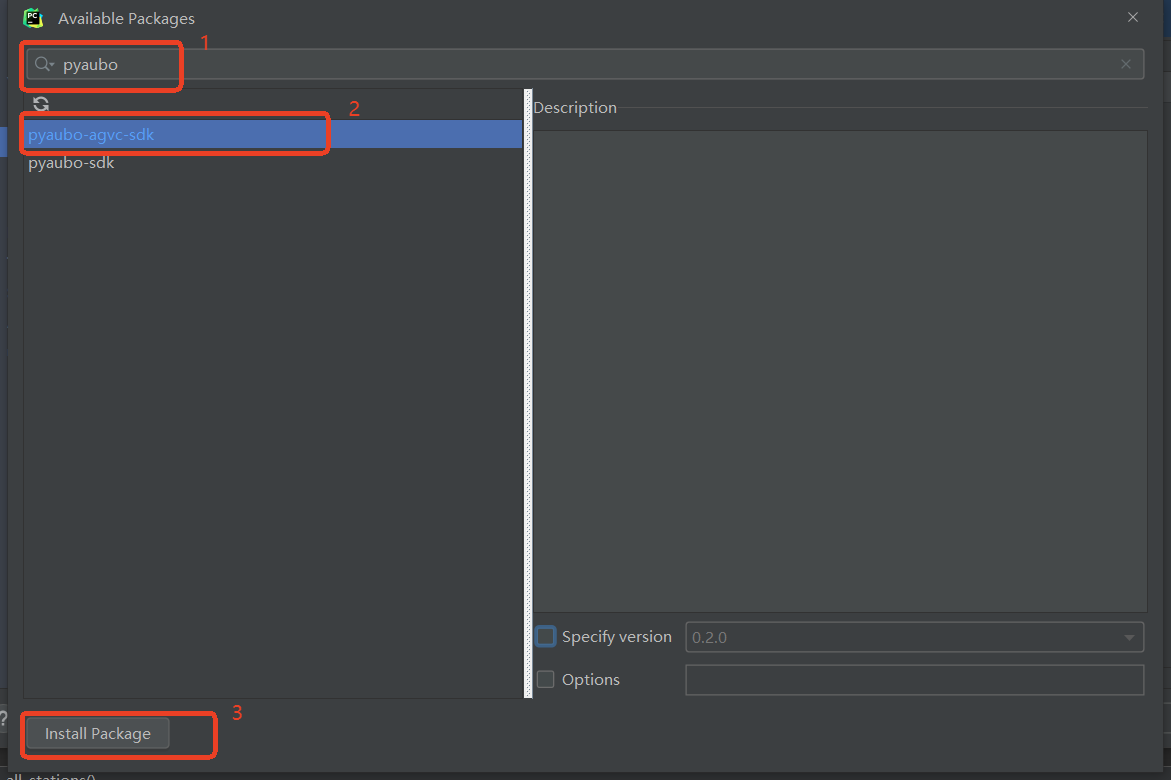
3.2 Uninstallation methods
Method 1: Uninstallation using the command pip
bash
pip uninstall pyaubo-agvc-sdkMethod 2: Uninstallation via PyCharm
- Open
File -> Settings.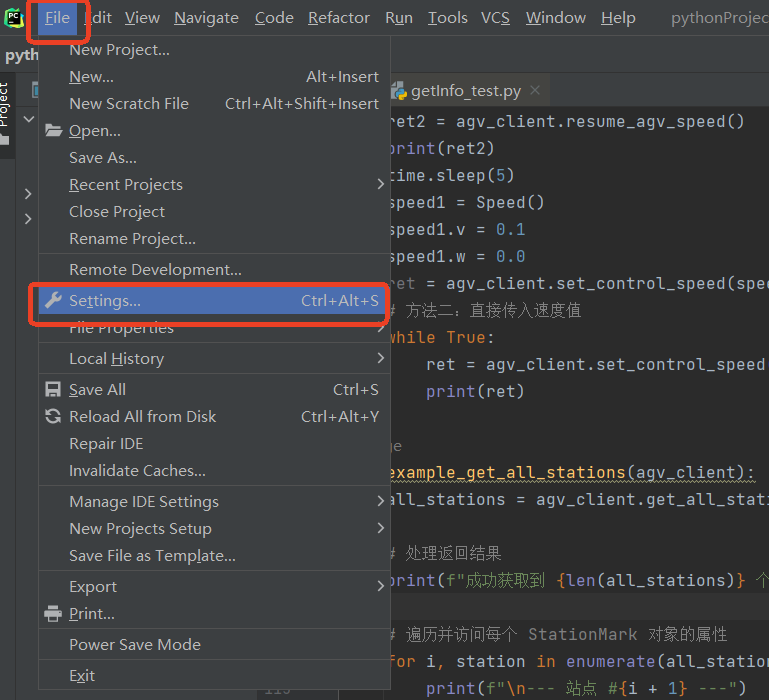
- Select
pyaubo-sdkin thePython Interpreterinterface, click the-icon to uninstall it, and clickOKwhen finished.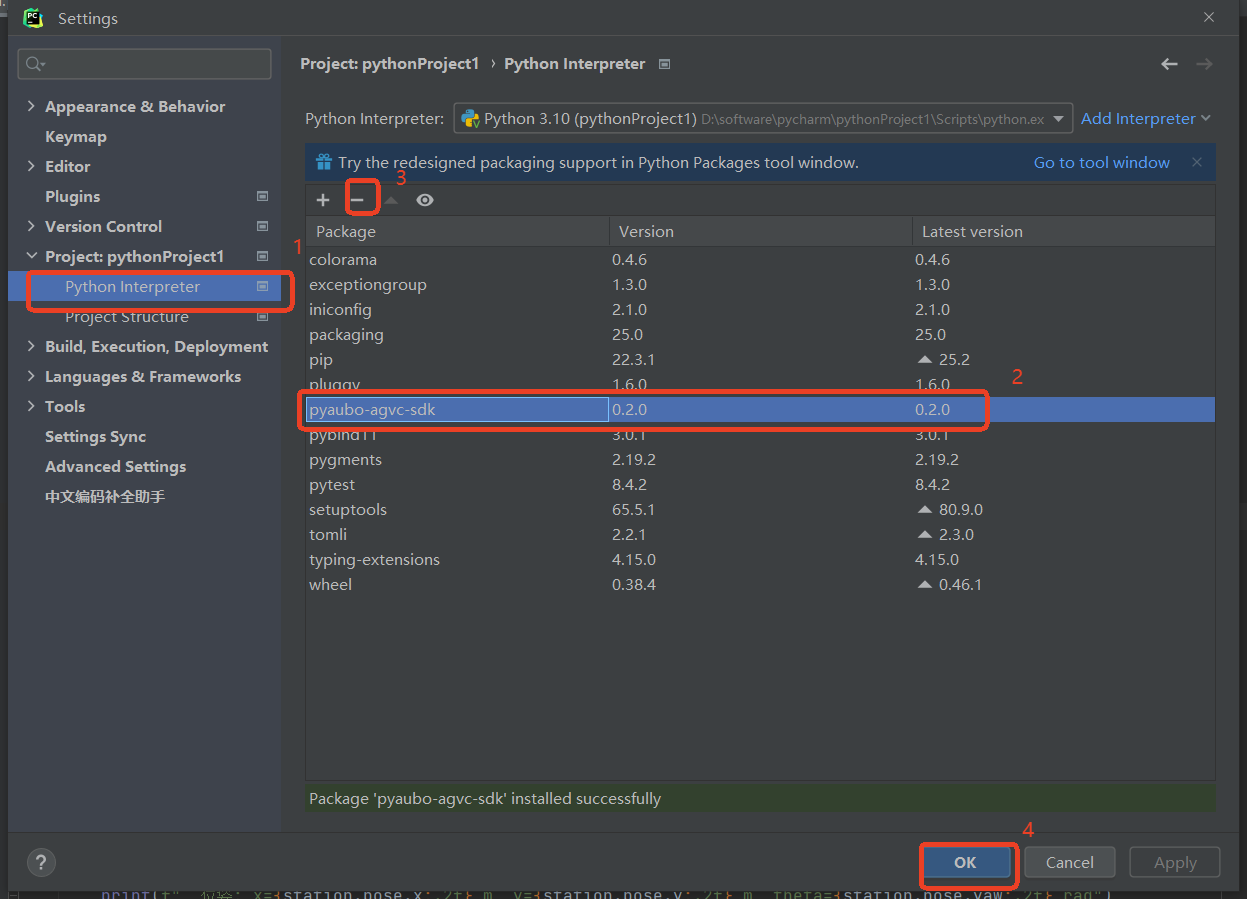
4. Use cases
4.1 SDK PC and robot communication settings
The SDK PC can communicate with the robot in the following two ways:
1. Wireless network communication
Communication is achieved through a wireless local area network (Wi-Fi), in the following steps:
- Connect the PC to the Wi-Fi hotspot broadcast by the robot.
- Test network connectivity:
- Method 1: Use the command
ping
Open the terminal and enterping 192.168.192.100. Example of successful communication: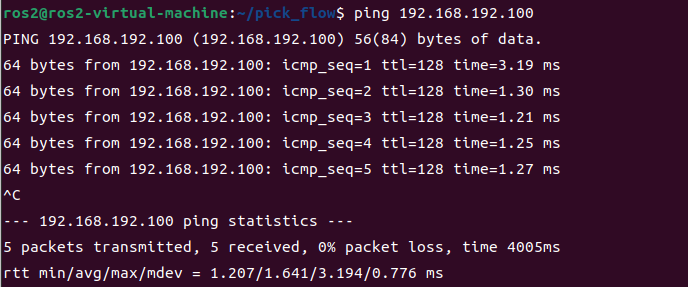
- Method 2: Use the command
telnet
Open the terminal and entertelnet 192.168.192.100 30104. Example of successful communication:
- Method 1: Use the command
2. Wired network communication
Communication is achieved through an Ethernet connection, in the following steps:
- Connect the control cabinet and the PC with a network cable.
- Configure network parameters (ensure the PC and the robot are on the same network segment):
- The IP address prefixes must be the same (for example, if the robot IP address is
192.168.192.100, the PC IP address prefix must be192.168.192). - The subnet mask for both is
255.255.255.0. - The gateway must be the same (usually set to
192.168.192.1).
- The IP address prefixes must be the same (for example, if the robot IP address is
- Test network connectivity:
- Method 1: Use the command
ping
Open the terminal and enterping 192.168.192.100. Example of successful communication: - Method 2: Use the command
telnet
Open the terminal and entertelnet 192.168.192.100 30104. Example of successful communication:
- Method 1: Use the command
4.2 Run Python SDK examples
In a Linux environment
- Method 1: Compile and run
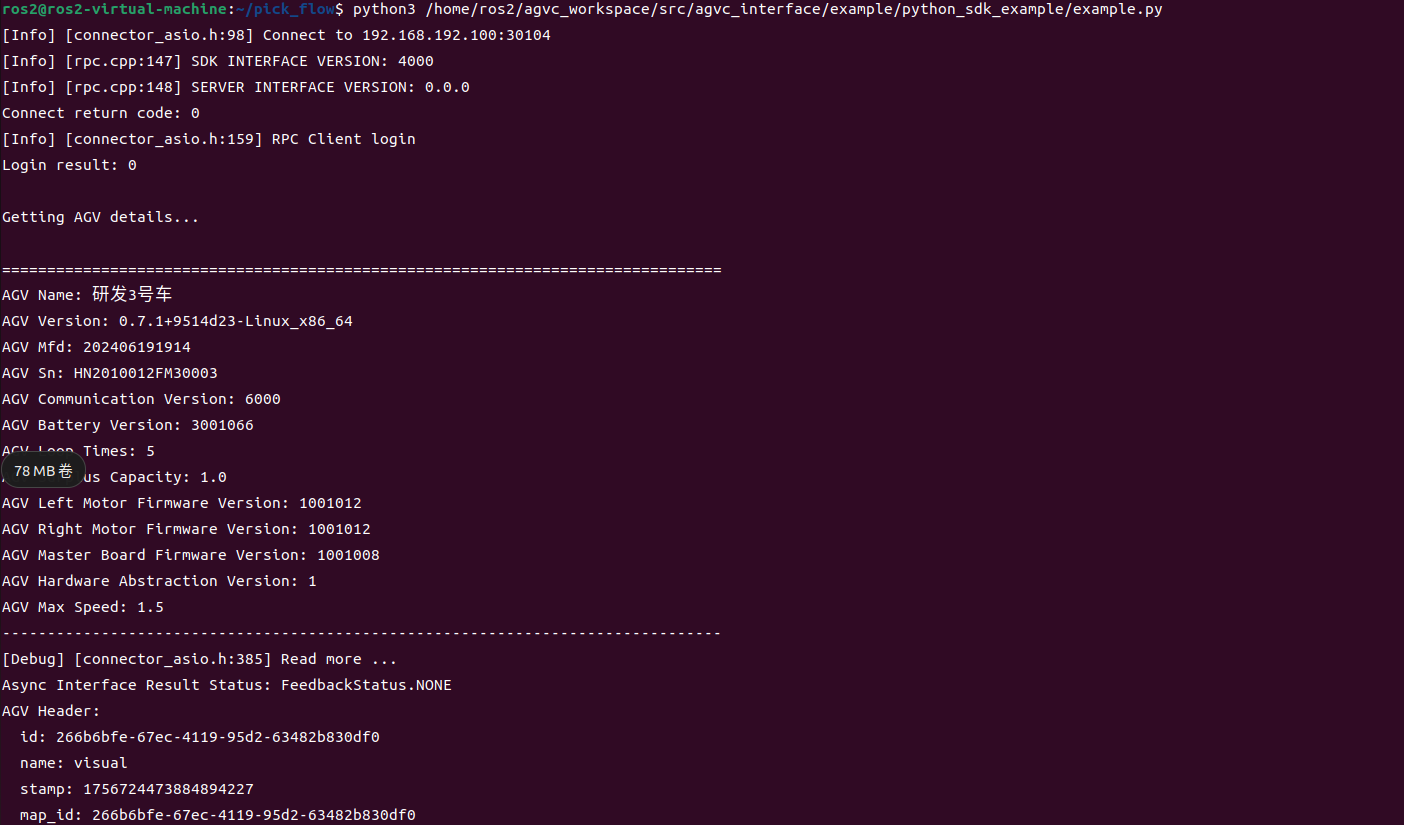
example.pyusing an IDE. - Method 2: Running in the terminal:bash
python script path /example.py - After running successfully, the terminal will print a message and the robot will move forward:
In a Windows environment
- Create a new
test.pyfile in the PyCharm project. - Click the Run button to execute the script.
