Controller External Display Use Guide
1. Tools required
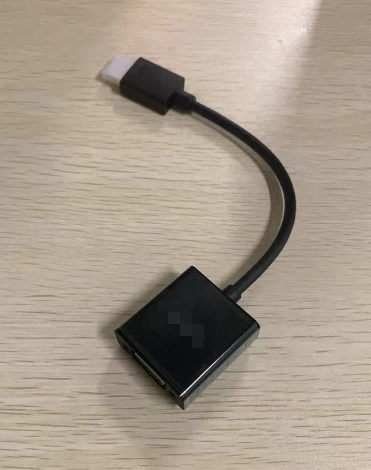
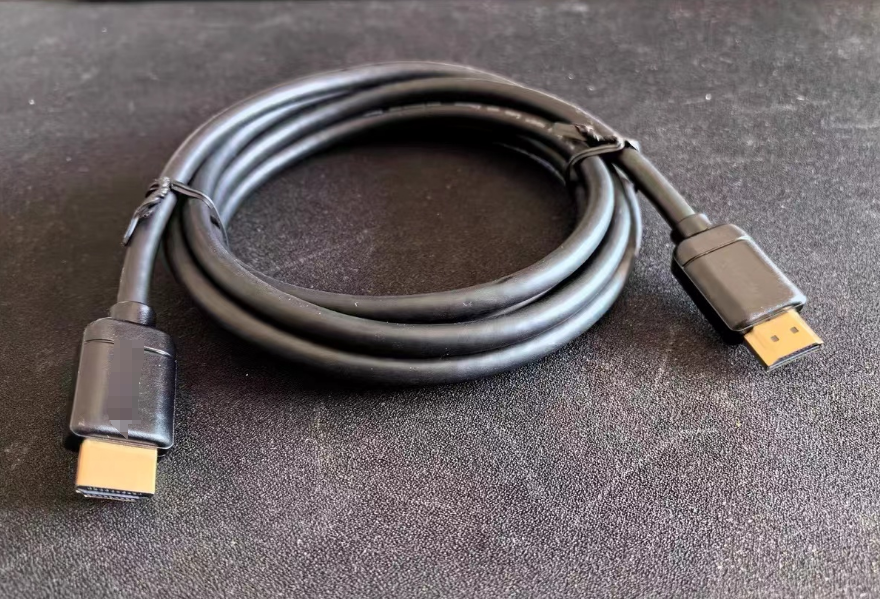
Monitor and HDMI cable
| HDMI | VGA | |
|---|---|---|
| S Control Cabinet | Not Supported | Not Supported |
| C Control Cabinet | Supported | Not Supported |
| iS Control Cabinet | Supported | Supported |
2. Connecting the Cable
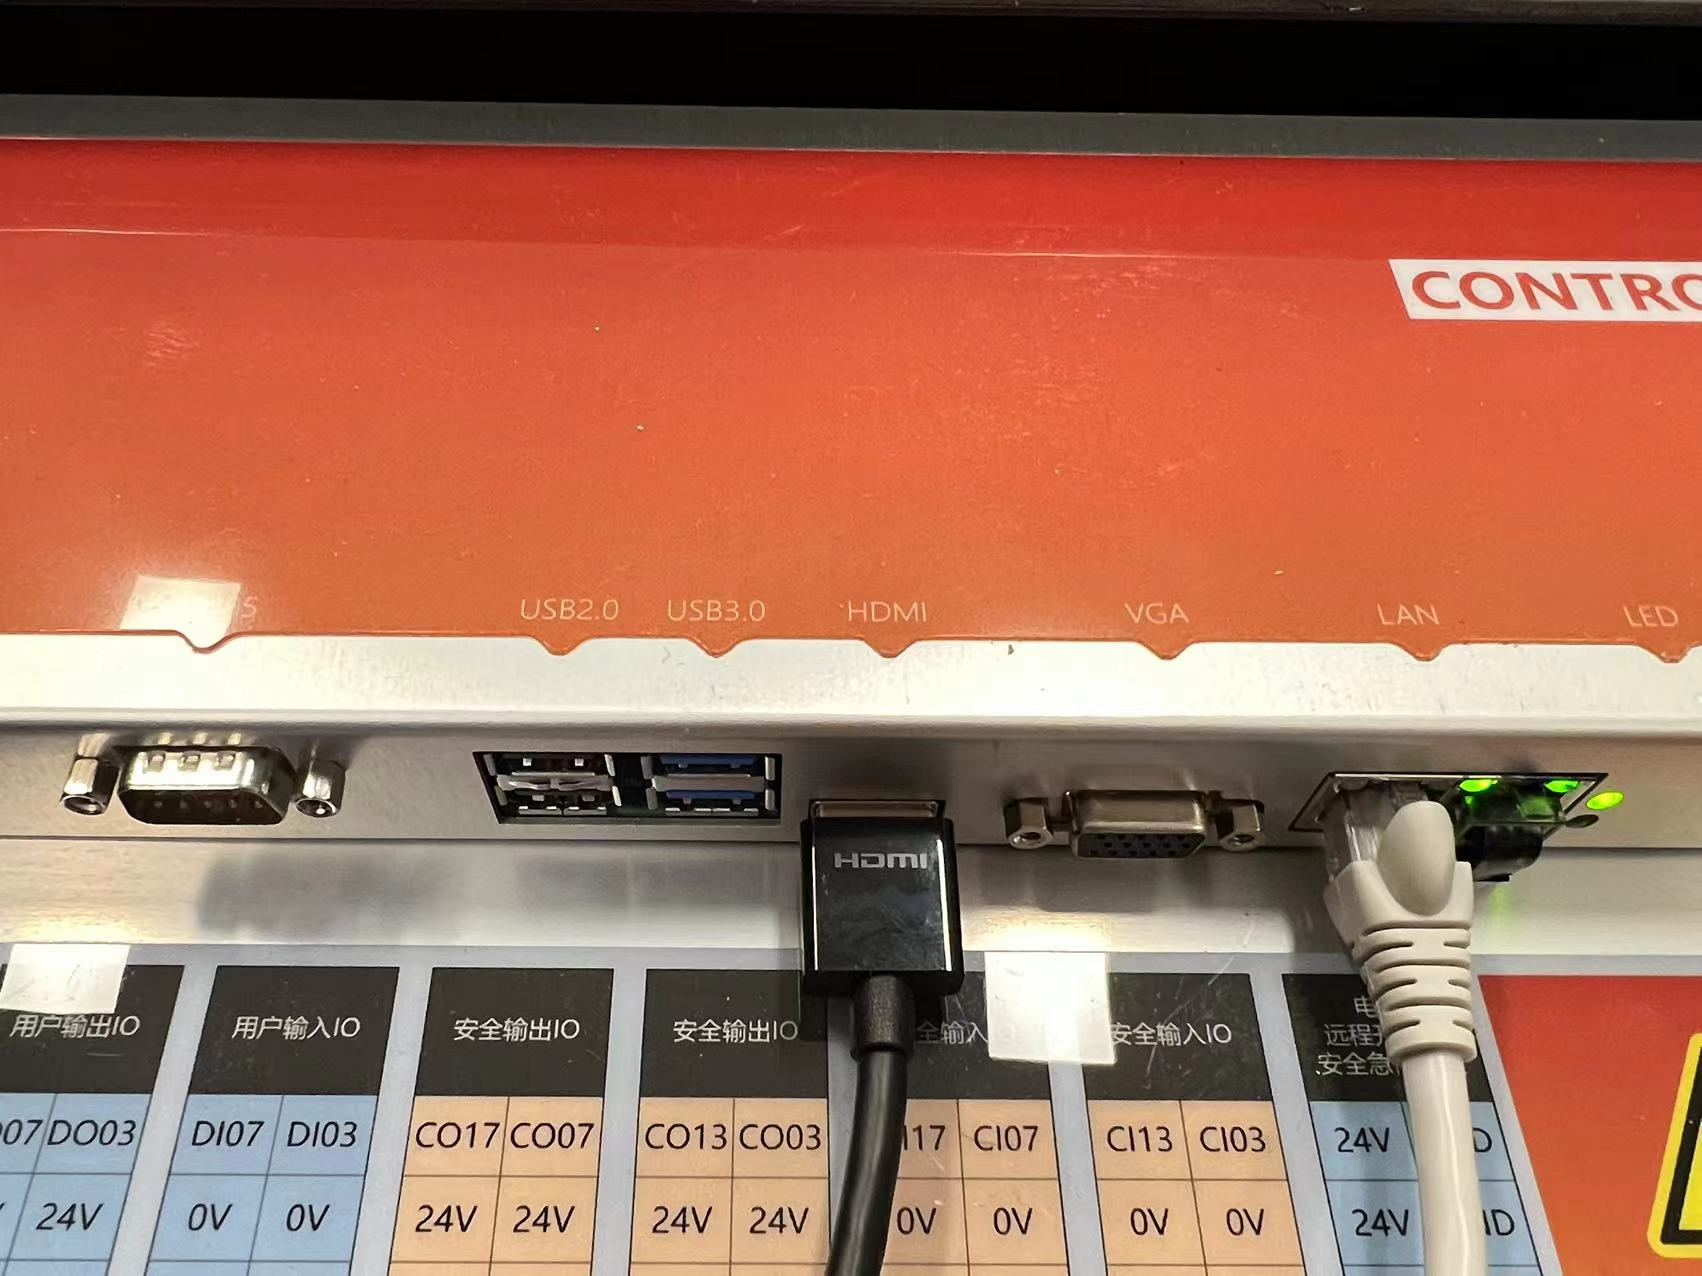
Insert the cable into the control cabinet port, using the iS control cabinet as an example, as shown in the diagram below.
Operate with the power off, then turn on the power after connecting.
3. Powering on the Device
Once powered on, the current Xubuntu system will be displayed.
1.Press
win + tto open the terminal without entering a username or password;2.Alternatively, press
ctrl + alt + f1to open the terminal, where users will enter the username:rootand the password:bestcobot.To exit the terminal, pressctrl + alt + f7;
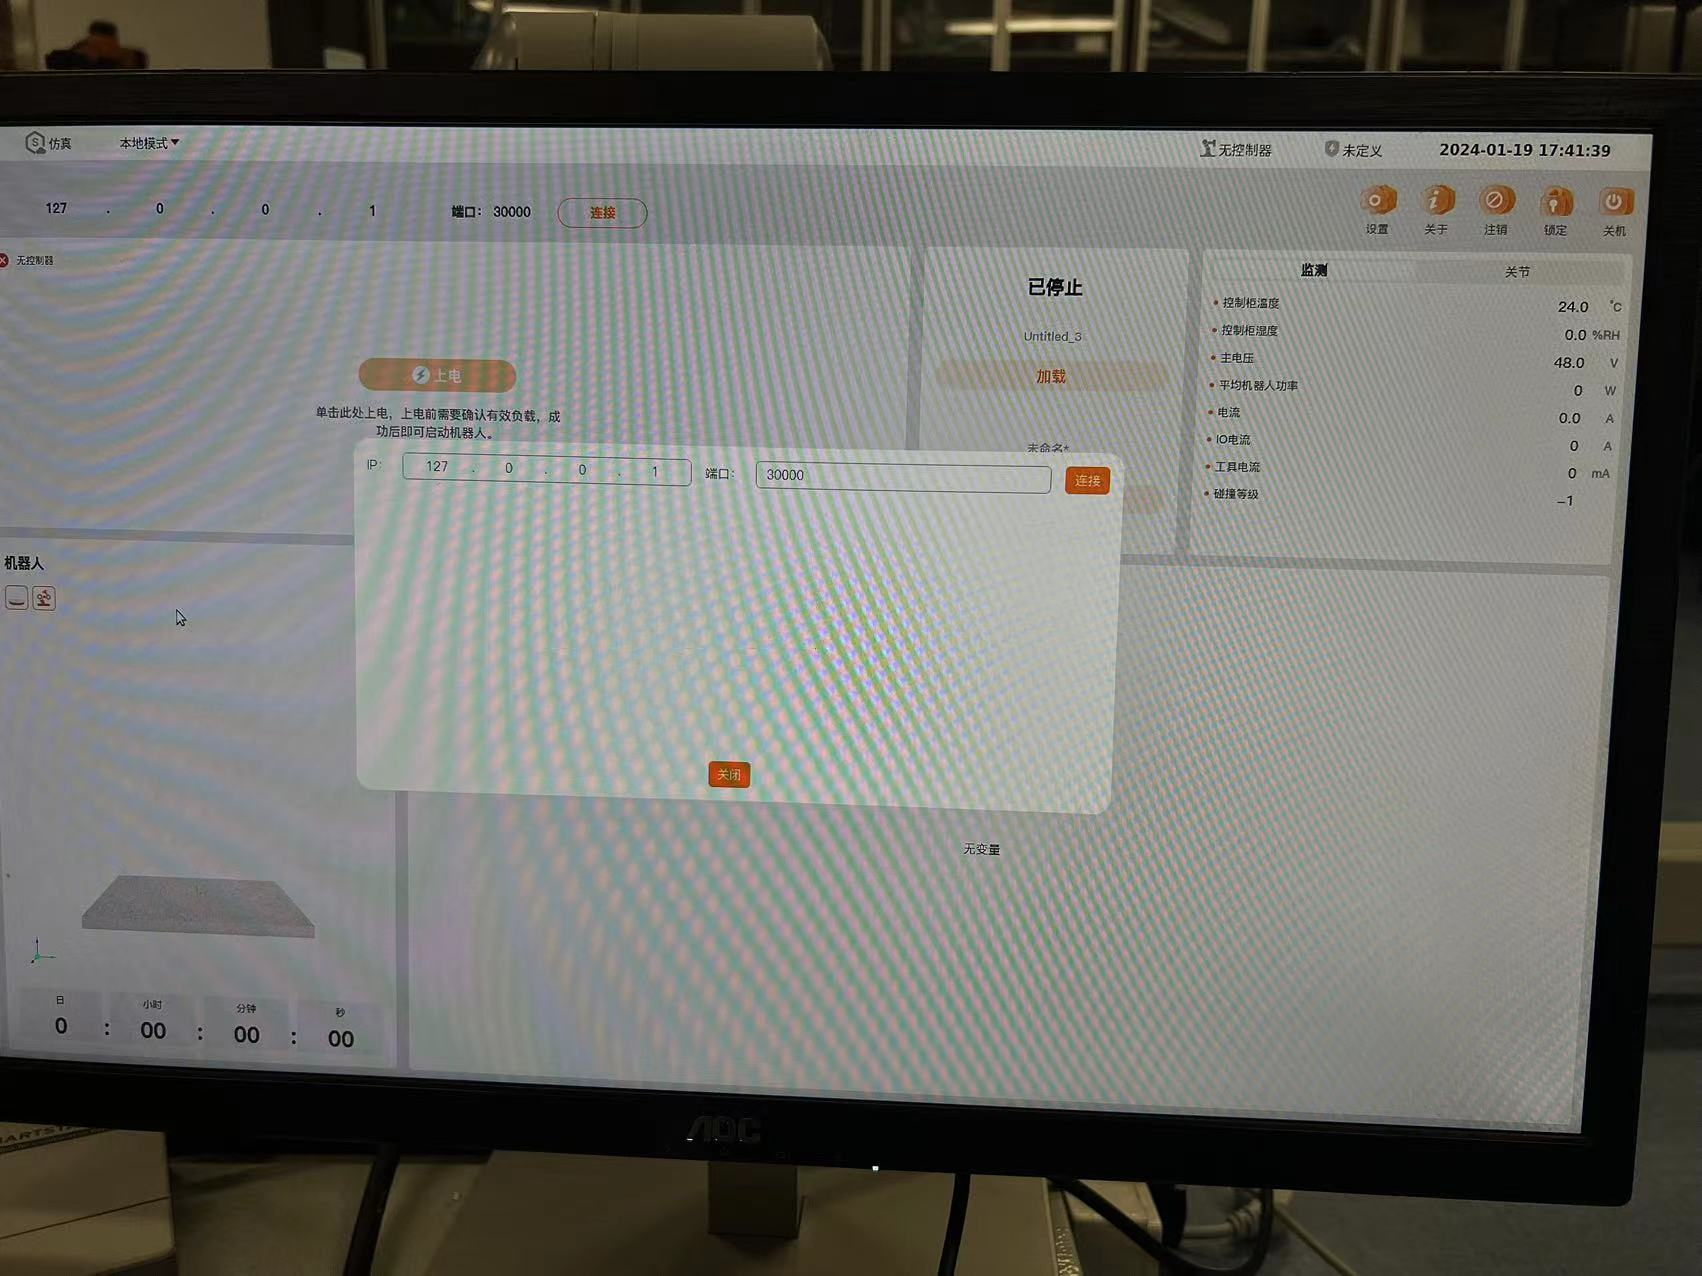
4.Adjusting Screen Resolution
If the ARCS software does not display correctly on the external monitor, the users need to adjust the screen resolution.
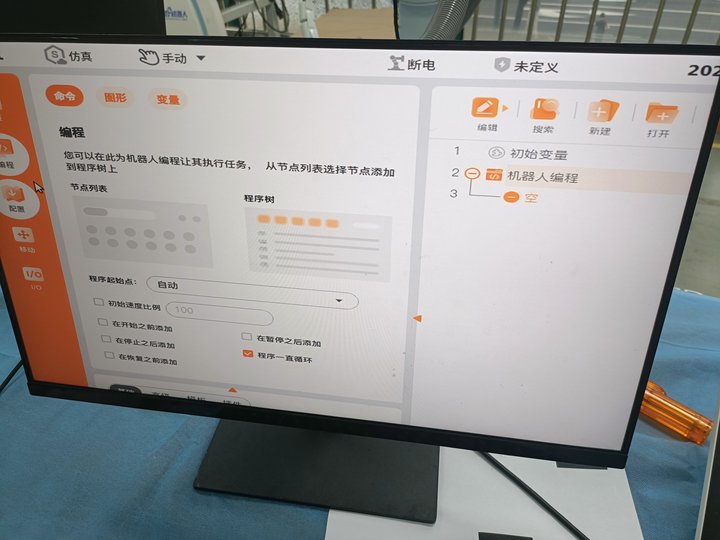
Method 1
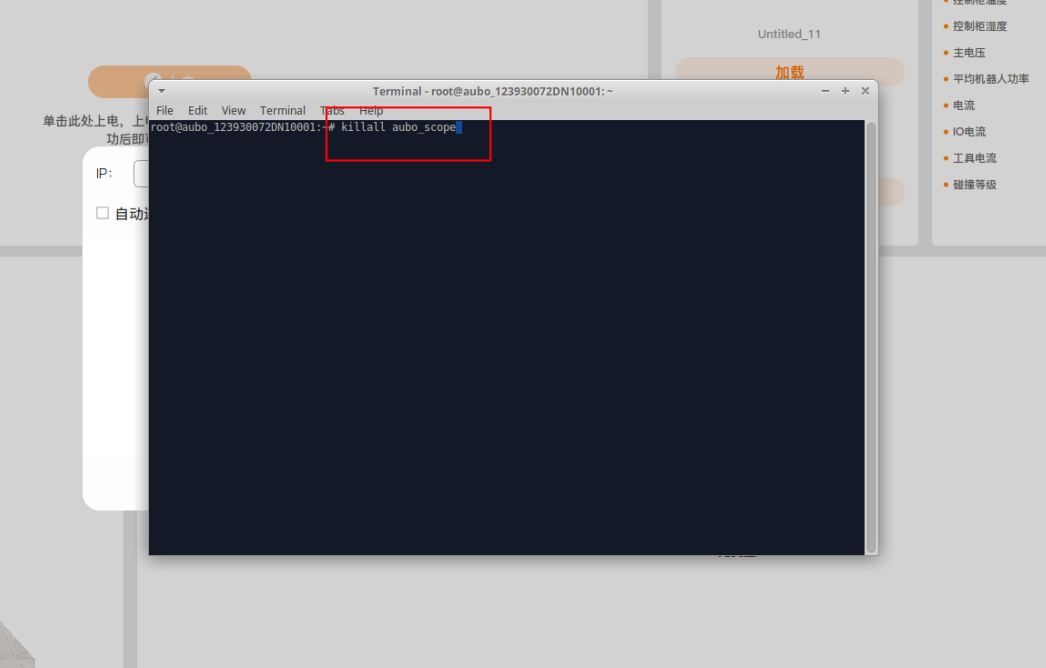
1.Press win + t to open the terminal and type killall aubo_scope to exit ARCS.
Alternatively, press
ctrl + alt + f1to open the terminal, enter the username:root, and the password:bestcobot. Typekillall aubo_scopeto exit ARCS, and then pressctrl + alt + f7to return to the desktop.
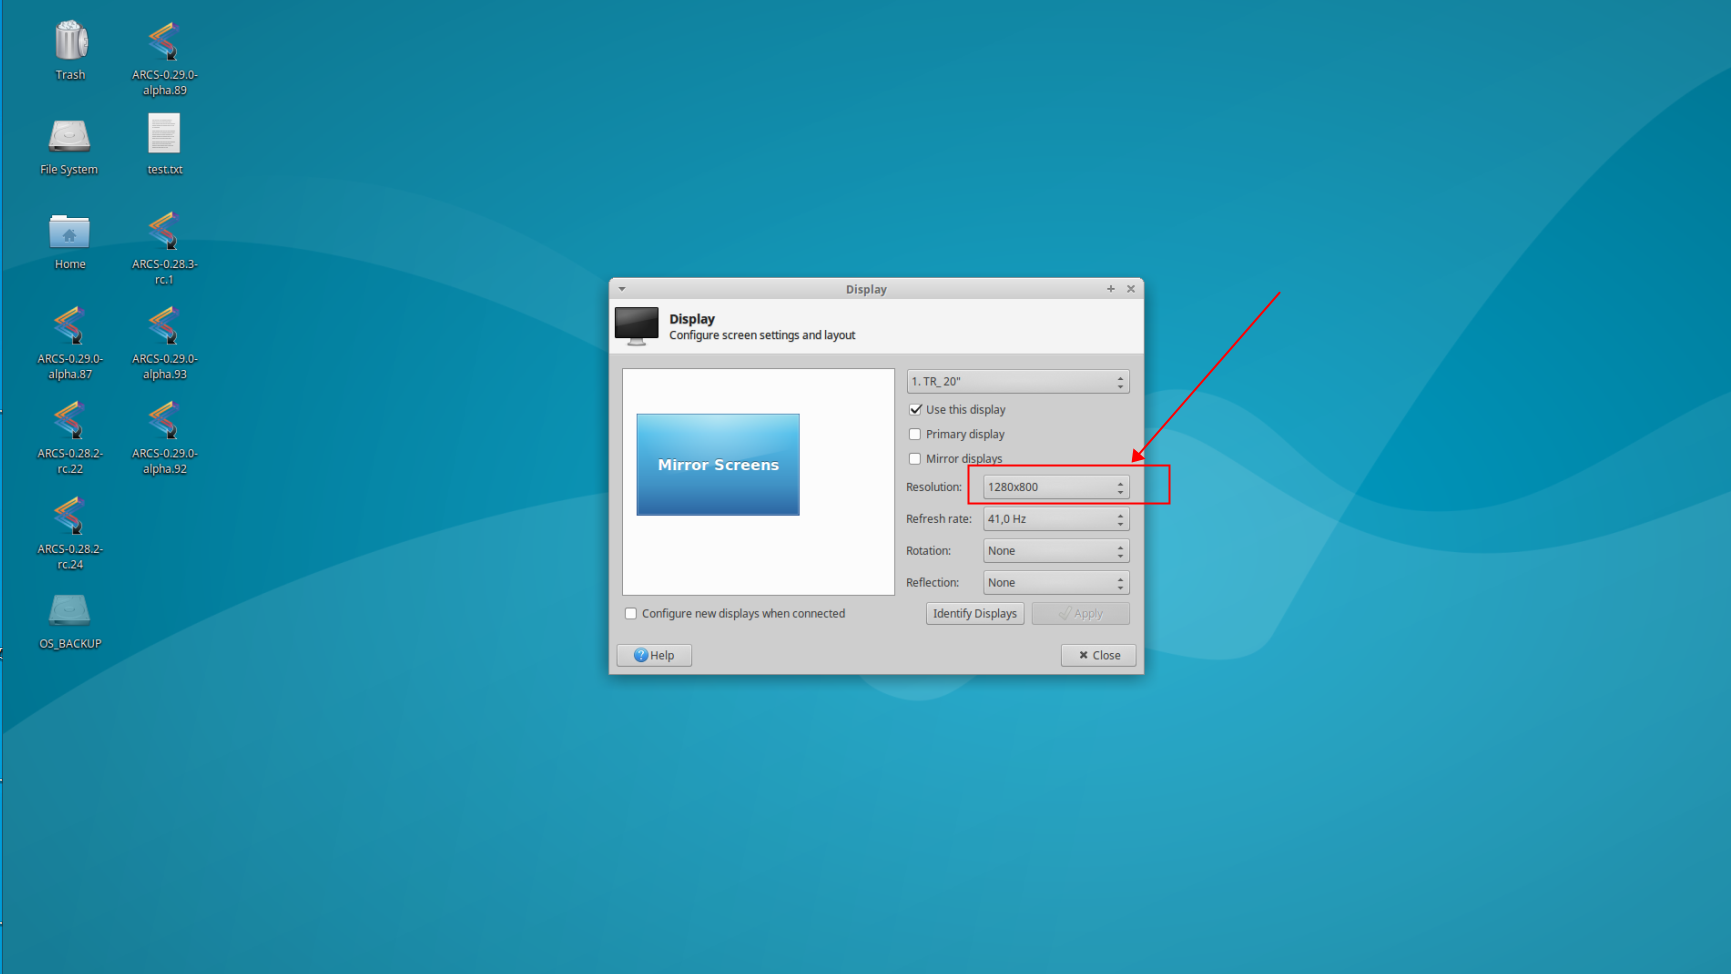
2.Right-click on the desktop and select Applications —Setrings—Display.
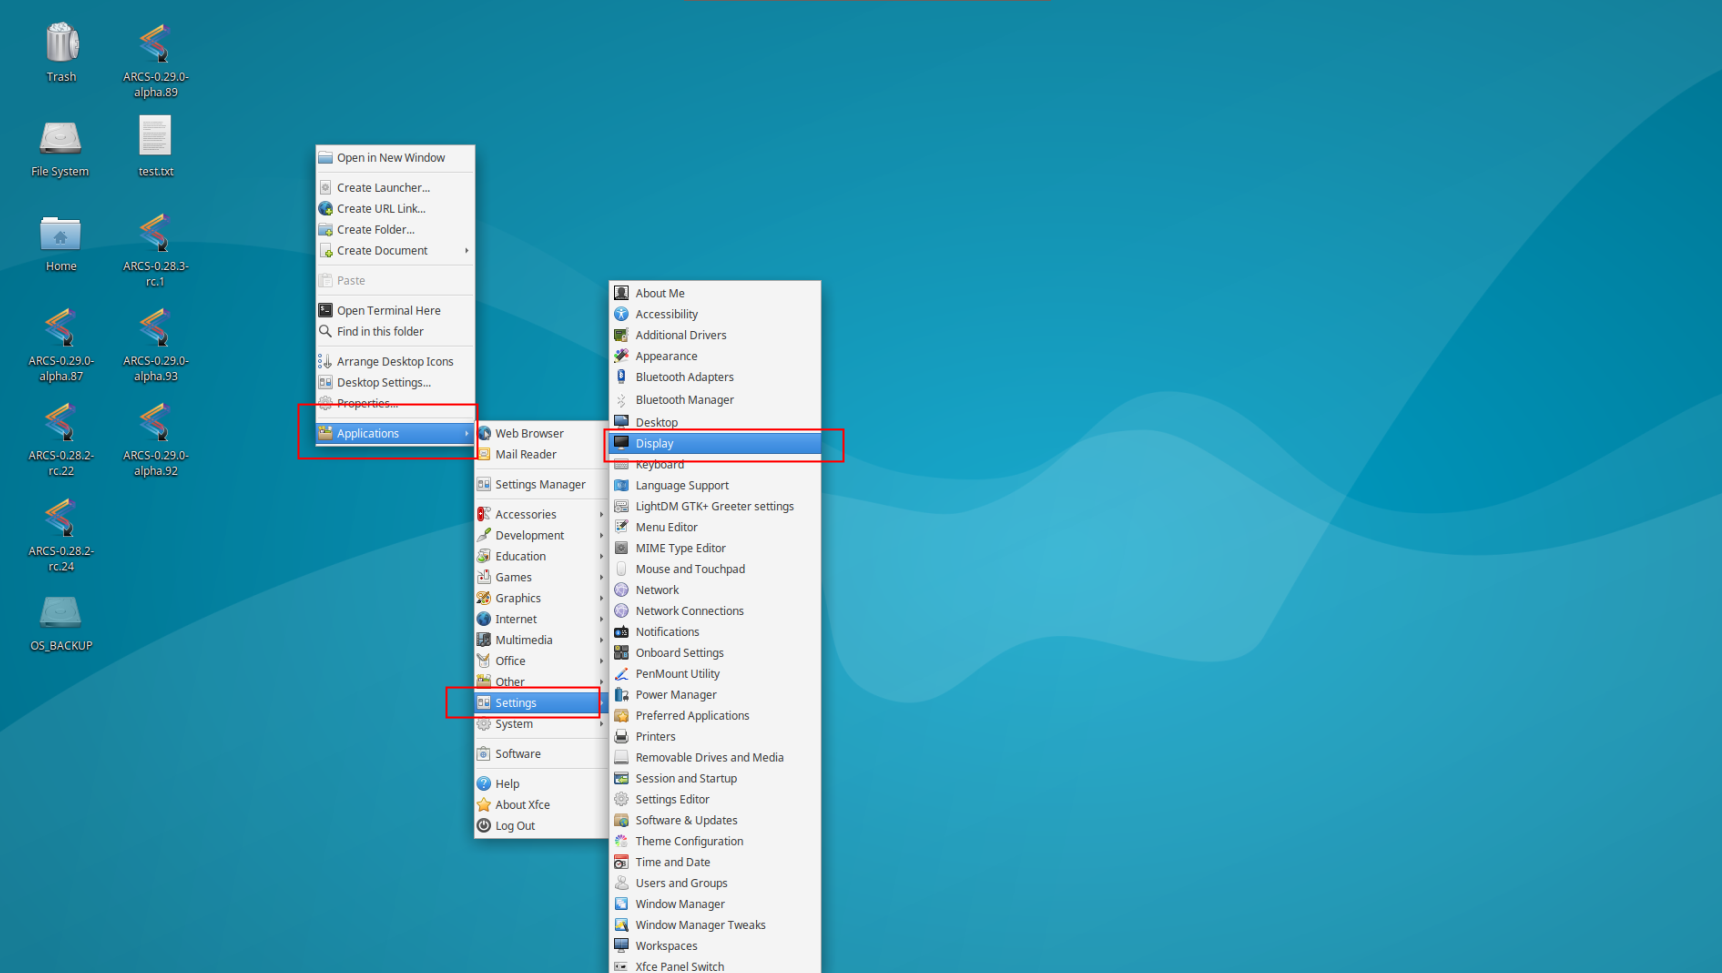
3.In the screen shown below, adjust the screen resolution. The new resolution will take effect after restarting the control cabinet.
Users can check the current screen resolution using the button at the bottom right of the monitor for reference. If the users cannot make the adjustment, use Method 2.
Method 2
If the resolution cannot be changed in Step 3 of Method 1, use Method 2.
1.Go to the /etc/default/ directory and open the grub file. Find the GRUB_GFXMODE= line and change it to the desired resolution. Save and exit the file.
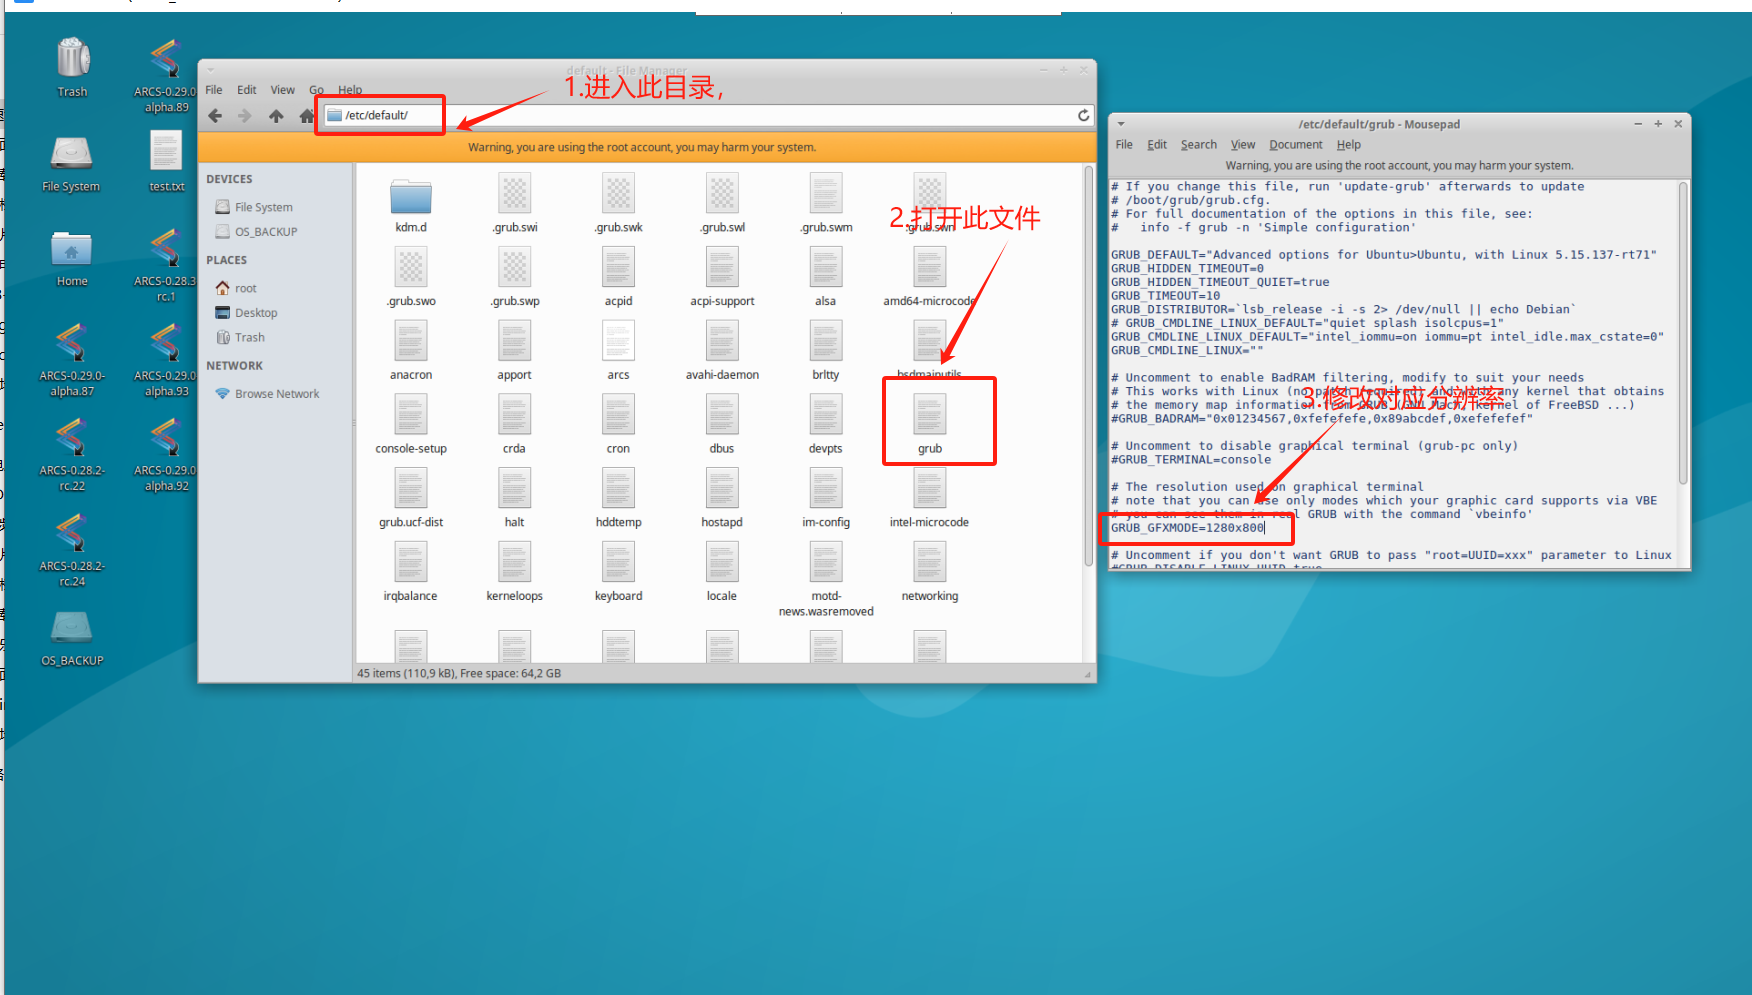
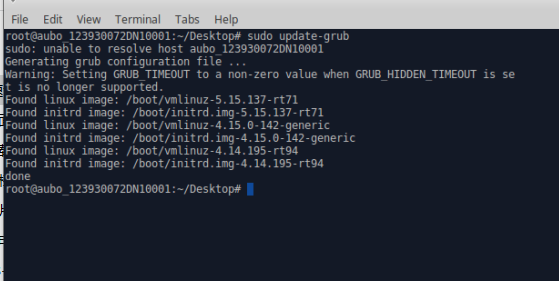
2.Open the terminal and type sudo update-grub, then press Enter. The new resolution will take effect after restarting the control cabinet.
