Safety Restriction
ThreePosition
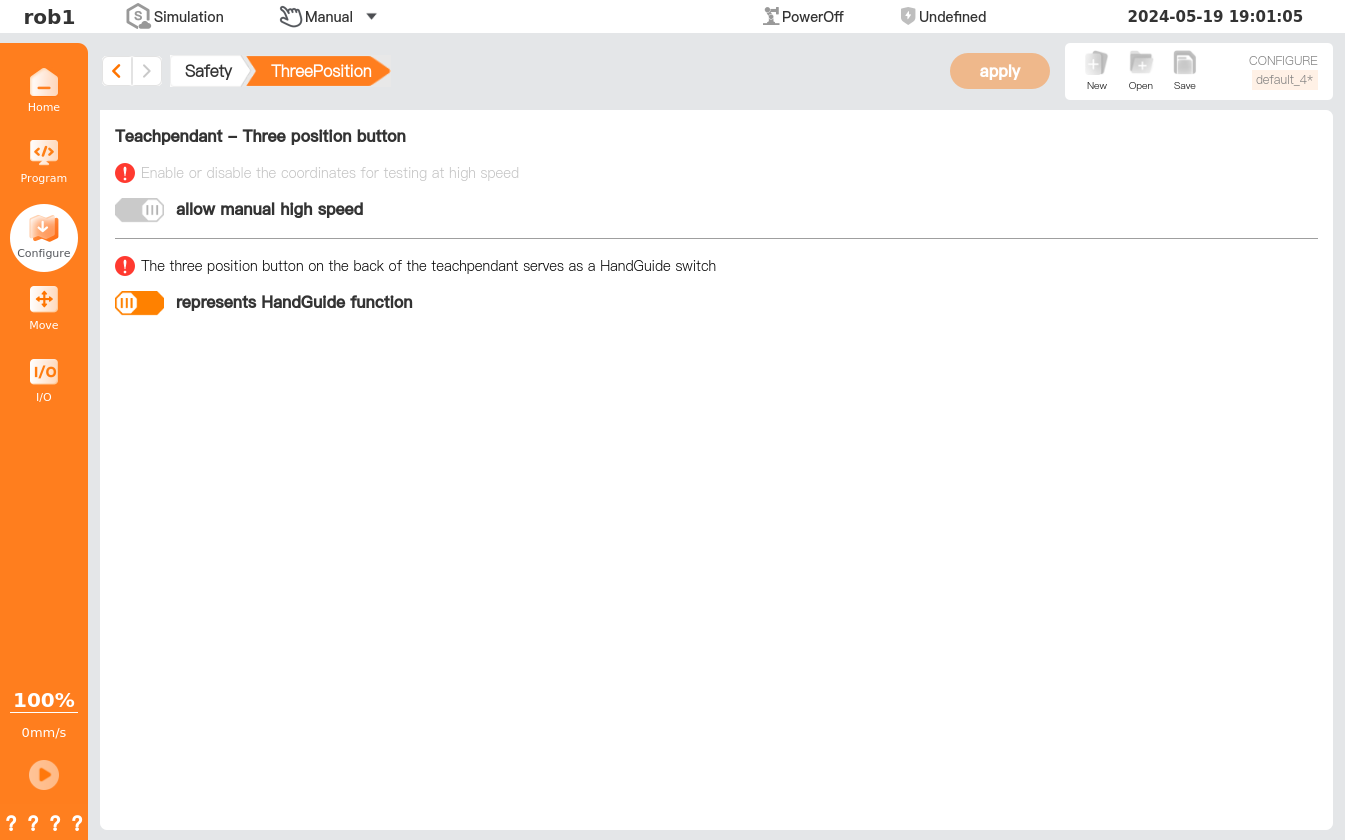
In the [ThreePosition] page, users can set the function of the three-position button.
Note:
When AuboStudio is in [Manual Mode], after [ThreePosition] is enabled, the robot enters [Manual Low Speed Mode], and the maximum robot motion speed is limited to 250 mm/s.
Joint limit
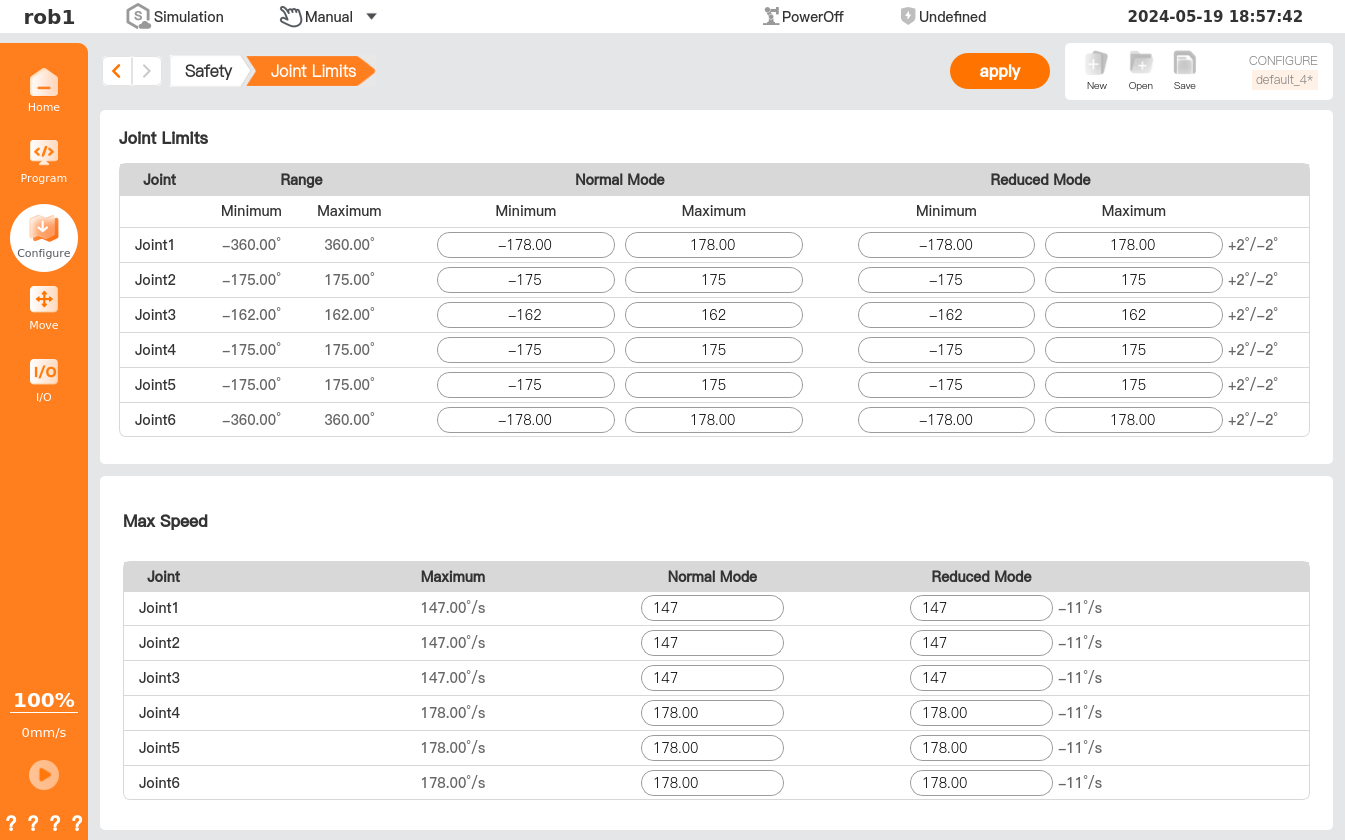
In the [Joint Limits] page, users can set the maximum limit that each joint of the robot arm can reach so as to limit the movement of each joint of the robot arm in the joint space. On this page, users can set the rotation angle of each joint and the joint max speed limit in "normal mode" or "reduced mode."
- When the "reduced mode" and "normal mode" are set at the same time, the value in "reduced mode" shall not be greater than that in "normal mode"; otherwise, the system will prompt a save failure.
- The default values of joint maximum value, joint minimum value, and joint max speed limit are the maximum ranges and can only be modified by the user within the default ranges.
Robot limit
On the [Robot Limits] page, users can set limits for robot hardware parameters, including [Power], [Kinetic Energy], and [Tool Speed]. The system provides several preset values, and users can also customize the parameters as needed.
Note:
If the safety configuration parameters are different from those defined in the risk assessment, hazards may not be reasonably eliminated or risks may not be sufficiently reduced.
Parameter settings:
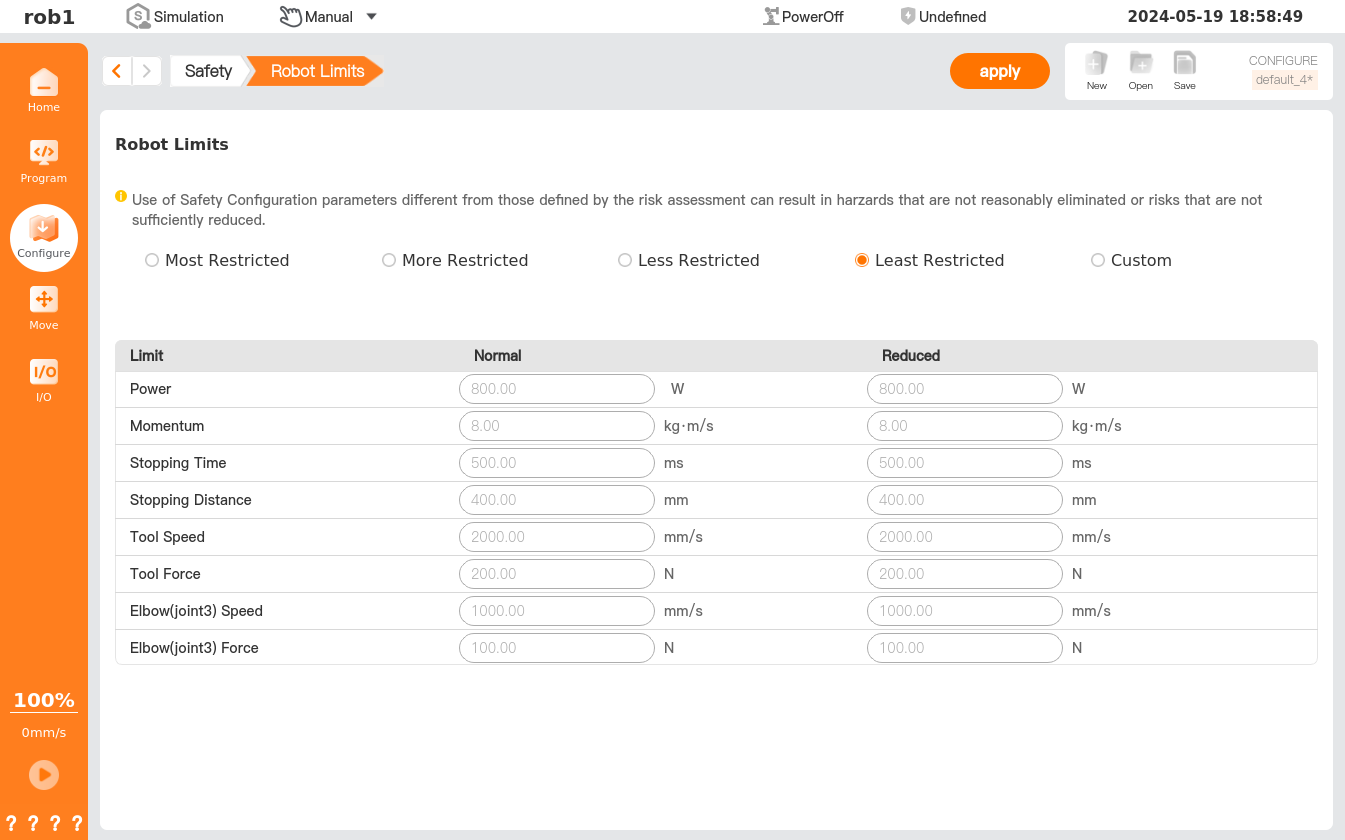
[Maximum Restrictions]/[More Restrictions]: system preset values, applicable to human-robot collaboration scenarios where the robot normally operates at a low speed.
[Fewer Restrictions]/[Minimum Restrictions]: system preset values, applicable to unmanned automation scenarios where the robot normally operates at a high speed.
Custom: applicable to semi-open scenarios where personnel may approach the robot intermittently. It balances automated production and human-robot interaction. Users can independently set two groups of related parameters: [Normal] and [Reduced]. During unmanned operation, the robot operates at high speed in [Normal] mode. After the safety reduced speed signal is triggered, the robot automatically switches to [Reduced] mode.
Note:
When customizing parameters, the parameter values in [Reduced] state cannot exceed those in [Normal] state.
[Normal]: the robot's normal operating state. The robot performs high-speed operation according to the preset or [Custom] parameters to ensure operation efficiency.
[Reduced]: after a safety signal is triggered, the robot automatically switches to [Reduced] state and operates at a low speed according to the preset or [Custom] parameters to reduce collision risks.
[Power]: the upper limit of the robot output power, used to control the maximum work rate that can be output during collision. Unit: W.
[Kinetic Energy]: the maximum allowable collision kinetic energy of the robot end, including the tool and payload. Unit: J.
[Tool Speed]: the upper limit of the maximum linear speed of the robot end, used to limit the maximum movement speed of the robot. Unit: mm/s.
After [Robot Limits] is configured, save the configuration in the following ways.
After setting the parameters, click [Apply] at the top of the page.
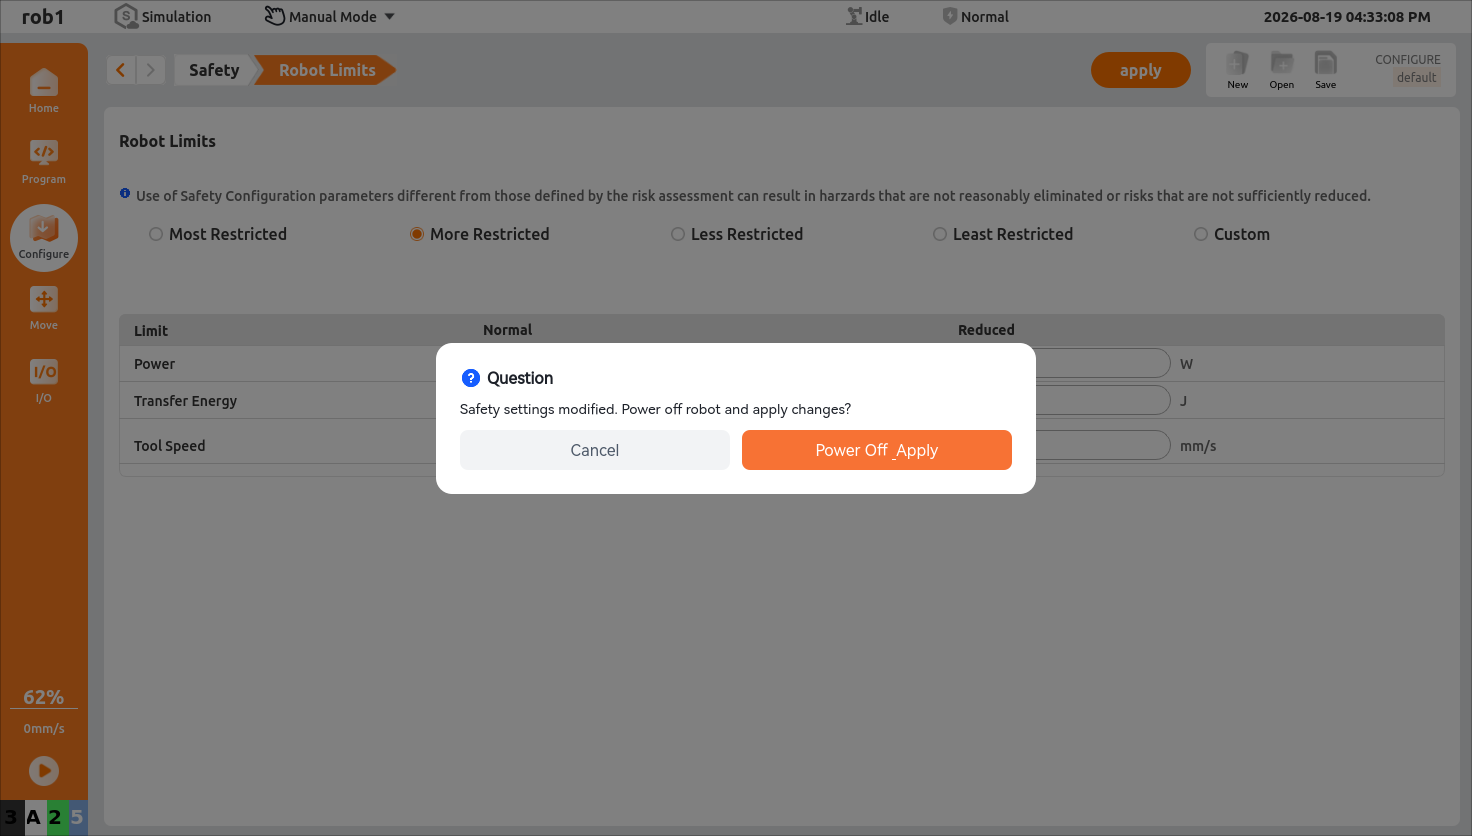
When the robot is powered on: click [Power off and apply] in the safety configuration modification dialog box.
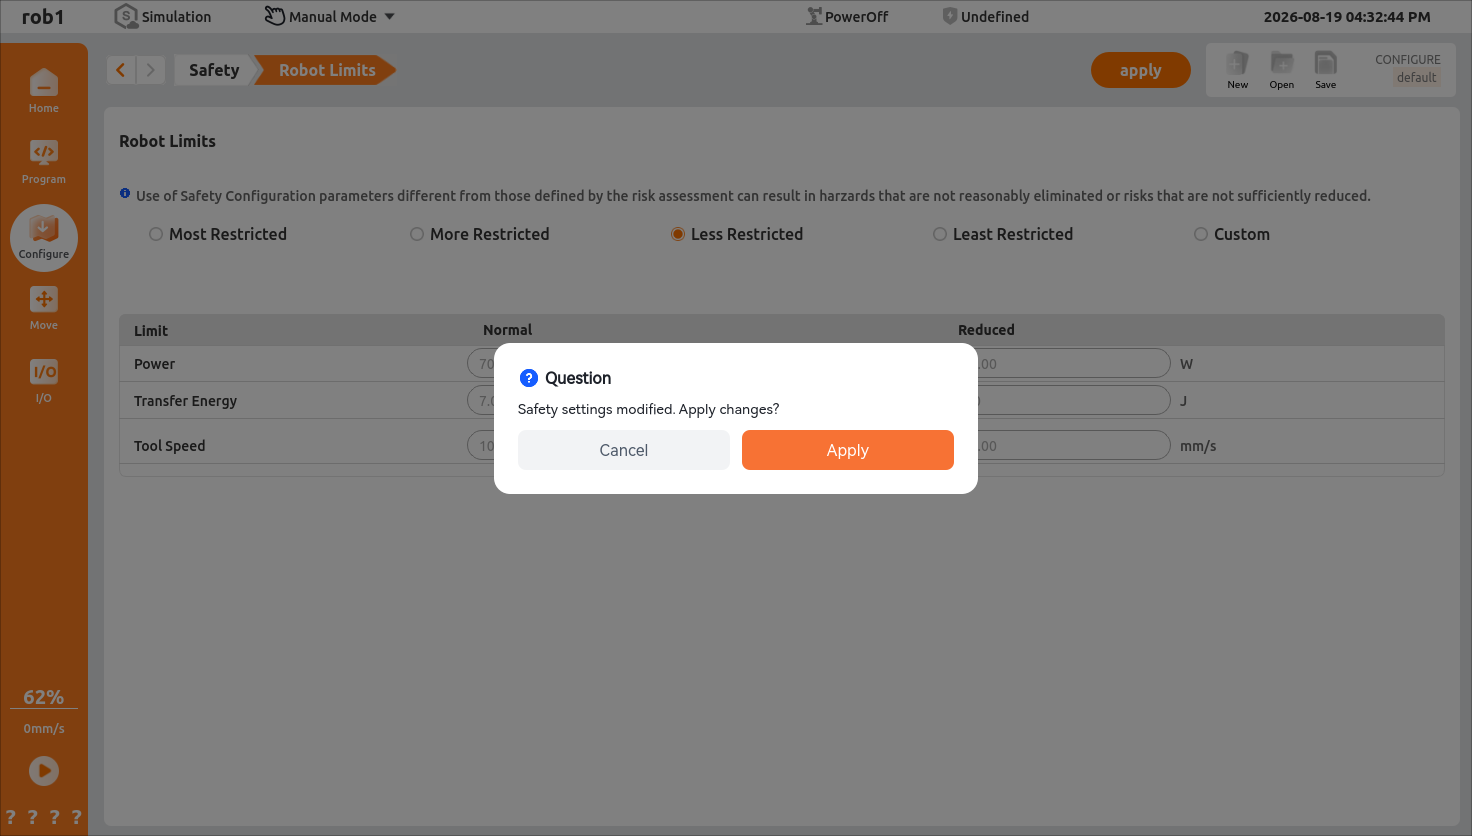
When the robot is not powered on: click [Apply] in the safety configuration modification dialog box.
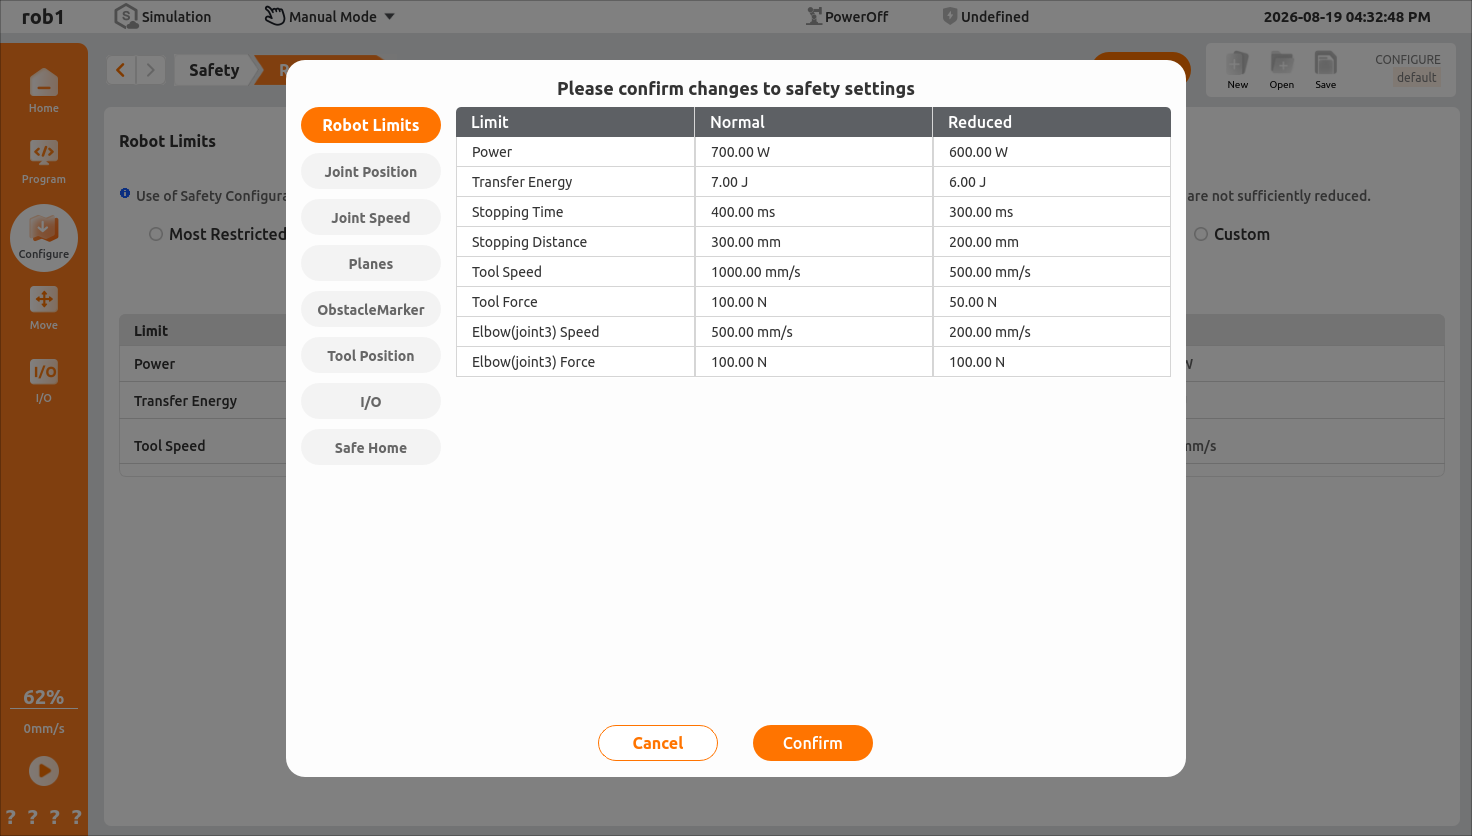
Click [Confirm] in the secondary confirmation dialog box to make the configuration take effect.
Tool position
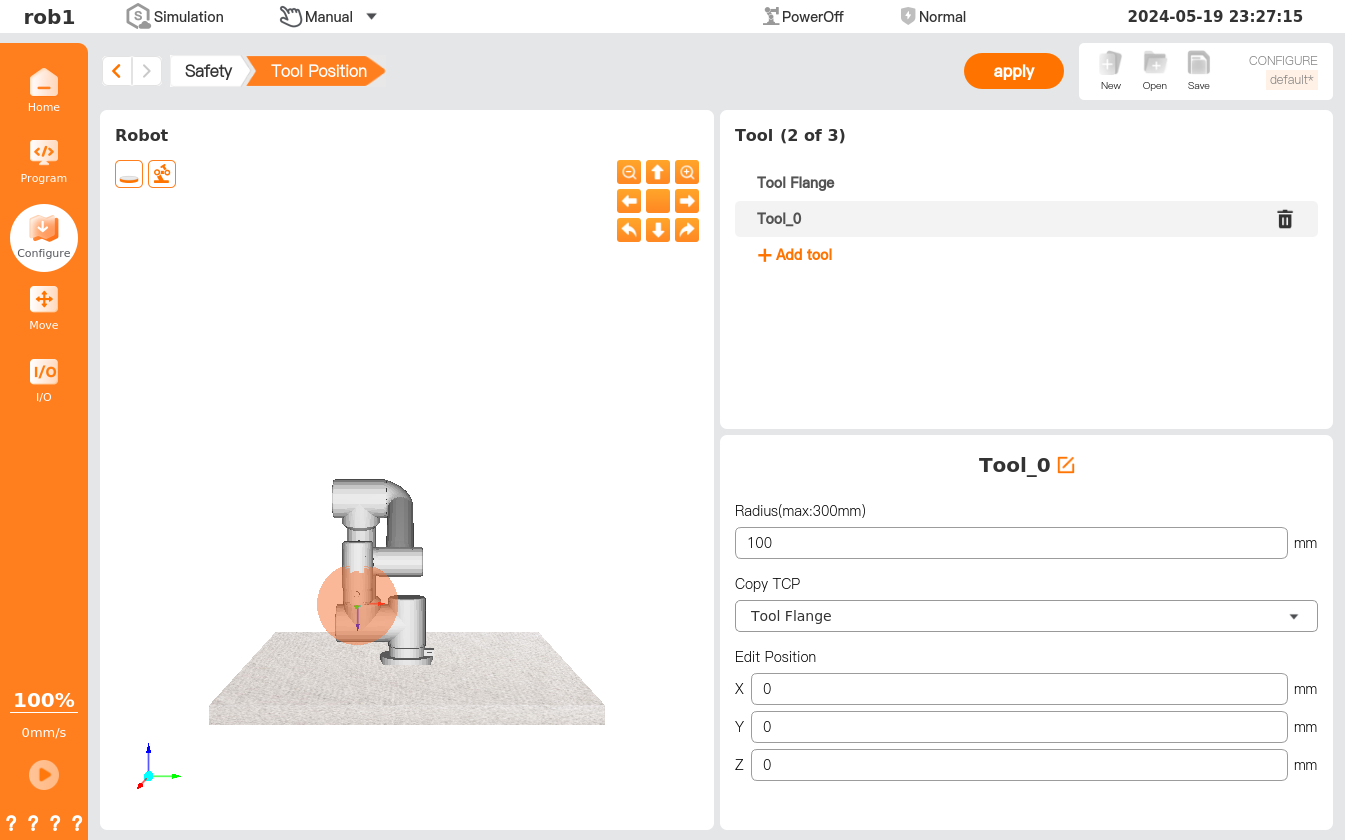
In the [Tool Position] page, users can set the spherical envelope of end-of-arm tooling (EOAT) and simulate the shape of the tool through the spherical envelope. This feature is designed to protect the end-of-arm tooling (EOAT) by using the spherical envelope to monitor collisions as TCP approaches a safety plane or an obstacle, thereby protecting the integrity of the end-of-arm tooling (EOAT).
Plane
In the [Planes] page, users can set the safety plane.
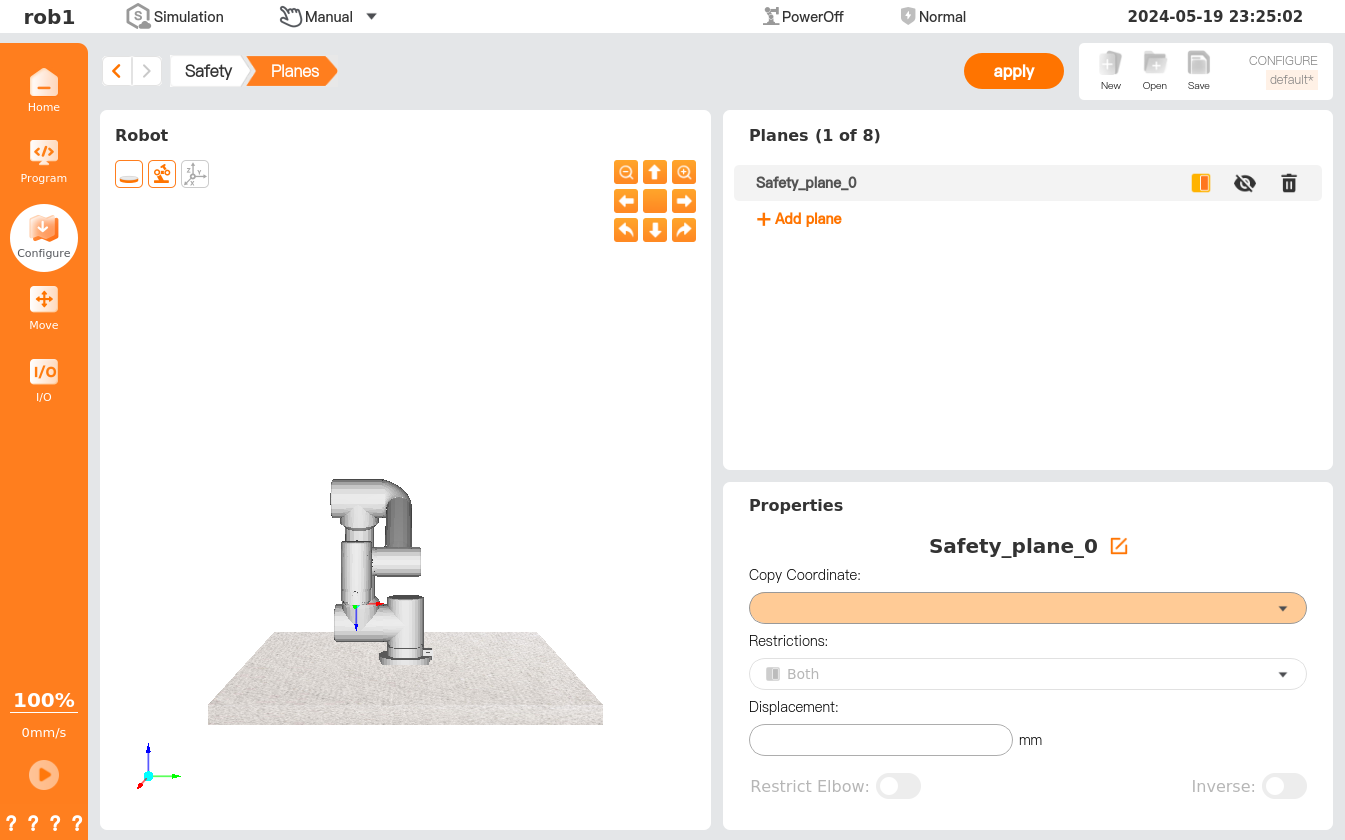
The safety plane supports the following five restriction conditions. Upon selecting a corresponding condition, the robotic arm will trigger different safety protection behaviors based on the current operating mode (Normal Mode/Reduced Mode). Specific details are as follows:
Disable: The current safety plane is not active and provides no protection.
Normal:
The robot arm is currently in normal mode: when the robotic arm moves to the negative direction of the safety plane, a pop-up window appears indicating safety protection has been triggered, and the robotic arm stops moving.
The robot arm is currently in reduced mode: when the robotic arm moves in the negative direction of the safety plane, it can operate normally without triggering safety protection.
Reduced
- The robot arm is currently in normal mode: when the robotic arm moves to the negative direction of the safety plane, it can operate normally without triggering safety protection.
- The robot arm is currently in reduced mode: when the robotic arm moves to the negative direction of the safety plane, a pop-up window appears indicating safety protection has been triggered, and the robotic arm stops moving.
Both
- The robot arm is currently in normal mode: when the robotic arm moves to the negative direction of the safety plane, a pop-up window appears indicating safety protection has been triggered, and the robotic arm stops moving.
- The robot arm is currently in reduced mode: when the robotic arm moves to the negative direction of the safety plane, a pop-up window appears indicating safety protection has been triggered, and the robotic arm stops moving.
Reduced Trigger Mode
- The robot arm is currently in normal mode: when the robotic arm moves to the positive direction of the safety plane, the robotic arm enters reduced mode and continues to operate.
- The robot arm is currently in reduced mode: when the robotic arm moves to the negative direction of the safety plane, the robotic arm continues to operate in reduced mode.
ObstacleMarker
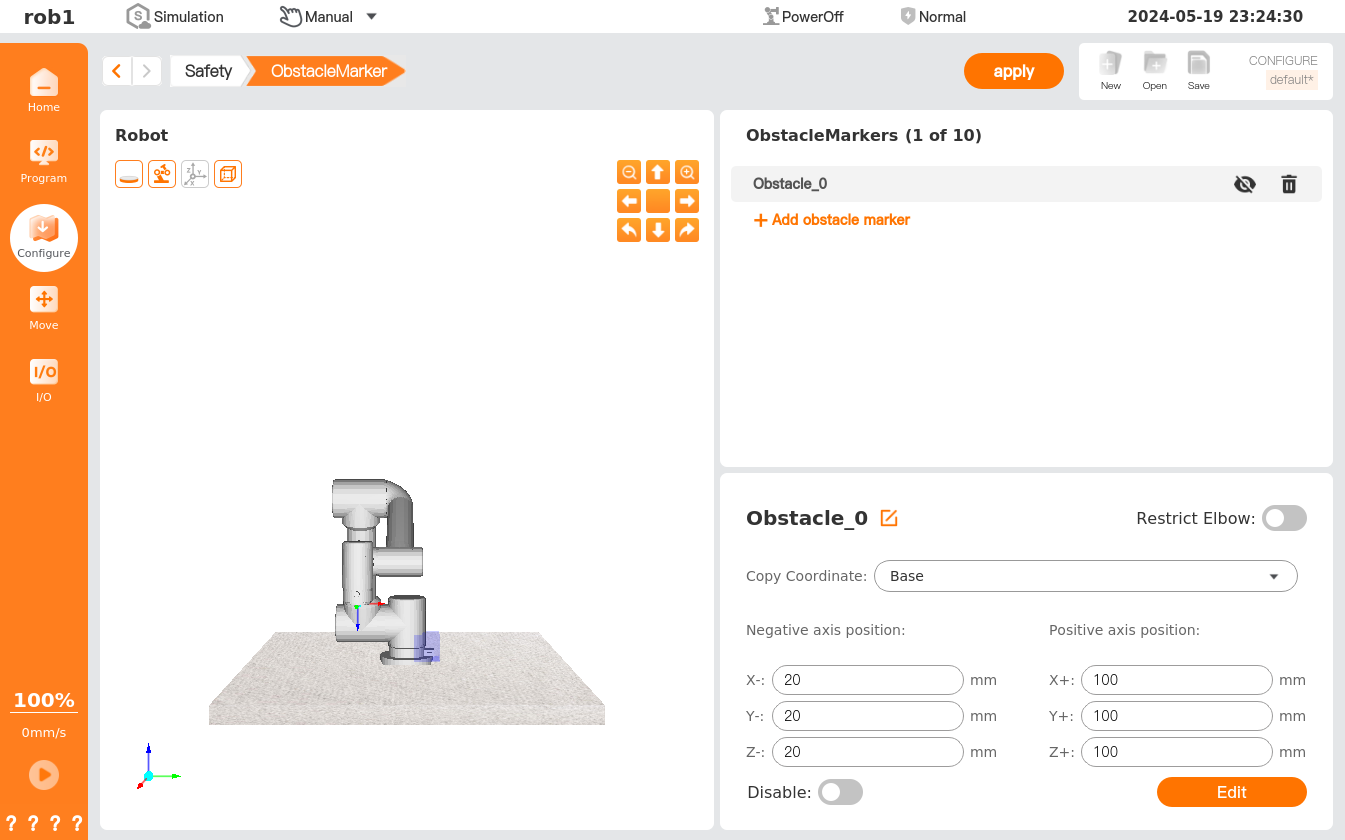
In the [ObstacleMarker] page, users can mark the three-dimensional space where the obstacle is located.