Control Cabinet Auto Power-On Configuration Tutorial
1. Supported Device Models and Software/Firmware Version Requirements
| Control Cabinet Model | Software Version | Firmware Version | Remarks |
|---|---|---|---|
| Improved | 0.31.0-alpha.129, 0.29.2-beta.25 and above | 1.0.42-rc.10, 1.1.10-rc.4 and above | |
| iMini | 0.31.0-alpha.129, 0.29.2-beta.25 and above | 1.0.42-rc.10, 1.1.10-rc.4 and above | |
| S | 0.31.0-alpha.129, 0.29.2-beta.25 and above | 1.0.42-rc.10, 1.1.10-rc.4 and above | |
| St1 | 0.31.0-alpha.129, 0.29.2-beta.25 and above | 1.0.42-rc.10, 1.1.10-rc.4 and above | |
| C | 0.31.0-alpha.129, 0.29.2-beta.25 and above | 1.0.42-rc.10, 1.1.10-rc.4 and above | |
| iS | 0.31.0-alpha.129, 0.29.2-beta.25 and above | 1.0.42-rc.10, 1.1.10-rc.4 and above |
2. Configuration via the Teach Pendant Software
Under development...
3. Configuration via WebSocket
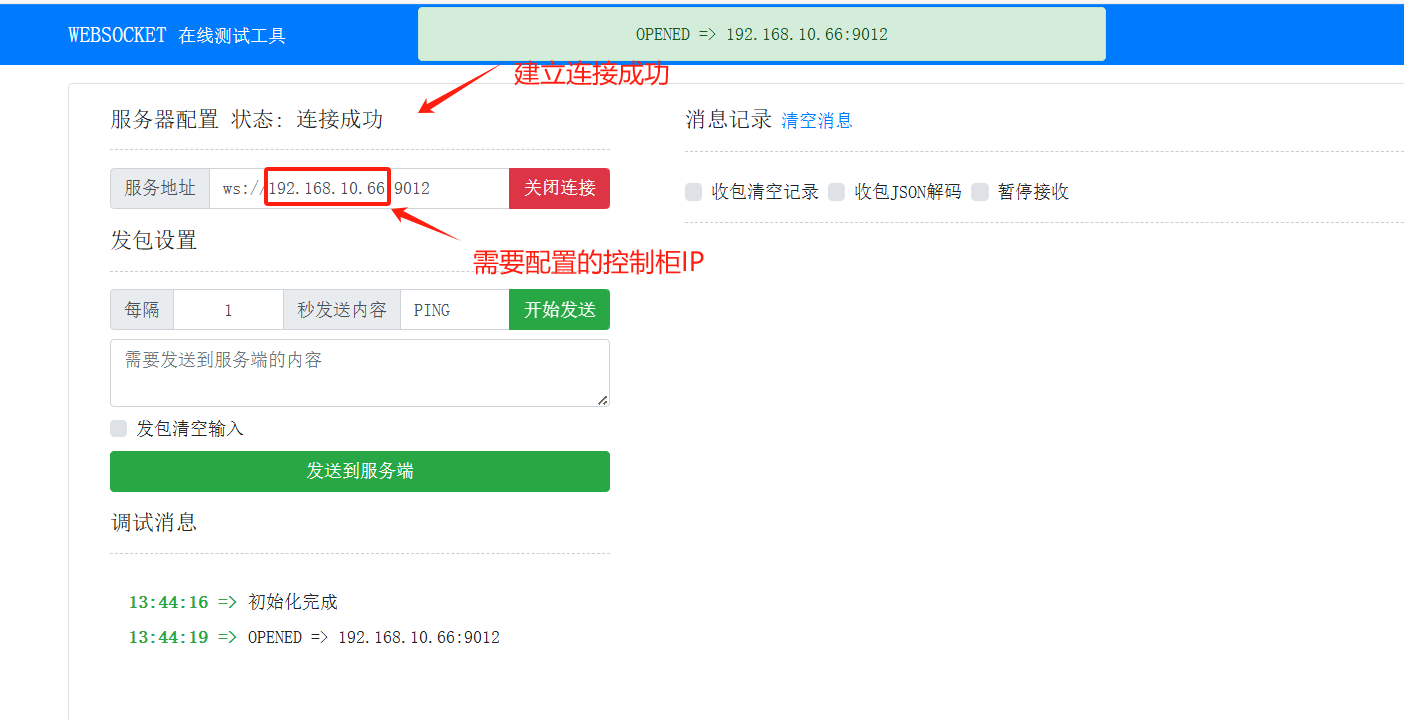
WebSocket uses Sending Scripts with the Browser and TCP Debug Assistant · AUBO Application Notes
- Establish a connection to the control cabinet using WebSocket
- Send the command
jso
{"jsonrpc":"2.0","method":"rob1.RobotConfig.setHardwareCustomParameters","params":["pc_power_mode = 1"],"id":1}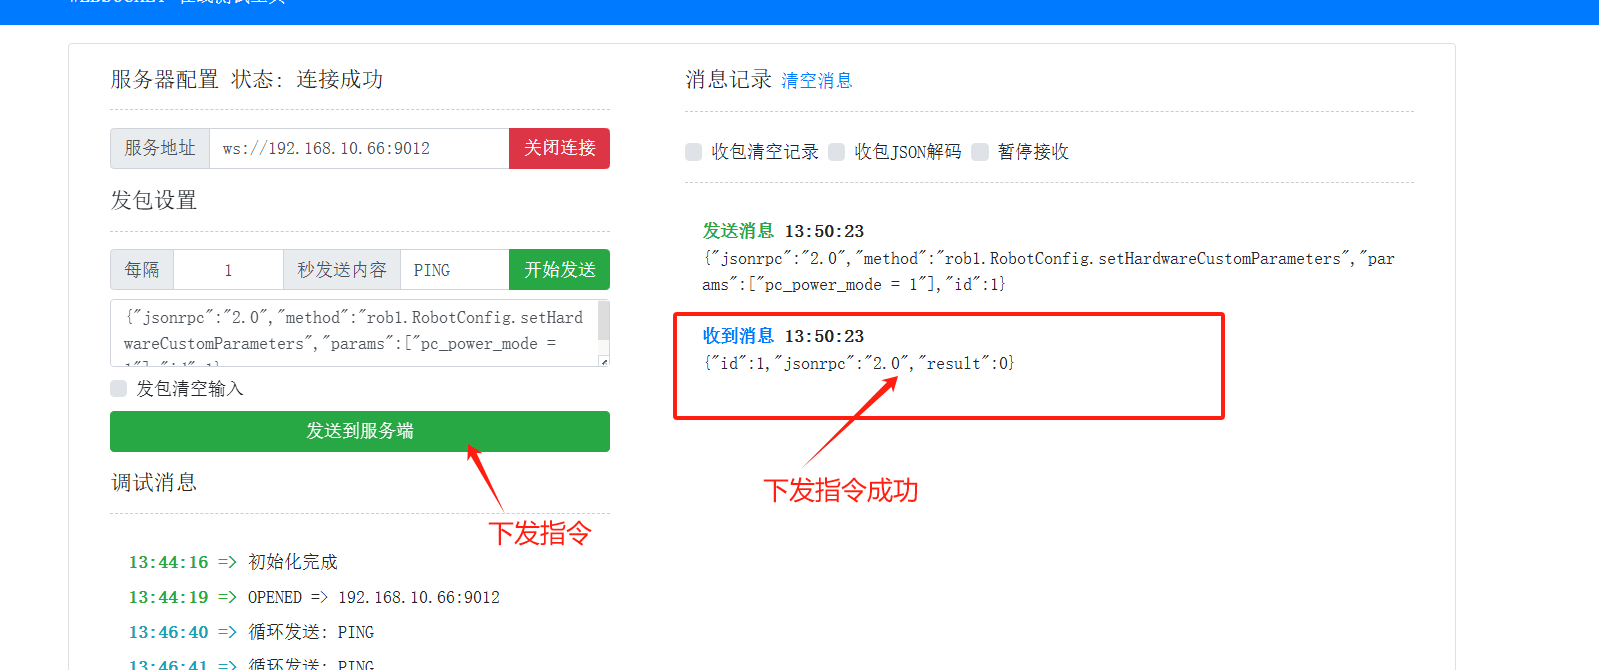
Power off the control cabinet
Power on the control cabinet, and the device will automatically turn on.